⏳ 15 min read · Last updated: September 2026
Disclosure: As an Amazon Associate, Urban Hydro Space earns from qualifying purchases at no extra cost to you. This post contains one affiliate link. I have not grown with the gear in this post myself. Every pick is researched from published specifications and owner reports, and I say so plainly.
🔎 Research pick: I have not grown with the products in this post myself, so every pick rests on published specifications and owner reports. How I test and choose products.
Building a hydroponic feeding schedule for travelers saved my weekend sanity, since I used to pack a bag on Friday afternoon and quietly worry about the basil dying of thirst by Sunday night. One July, I left a Kratky quart jar with the water line already an inch below the net cup. I drove to my sister’s for two nights and came home to crispy brown tips and roots that had gone dry and papery. Sorting out what I did wrong that weekend is what turned into this whole routine.
Now I follow the same short checklist before I lock the door, and it works whether I’m gone two days or five. You do not need a drip irrigation kit or a smart valve to keep herbs alive over a long weekend. If you’re brand new to any of this, my complete beginner’s guide to apartment hydroponics covers the basics this post builds on. A hydroponic feeding schedule for travelers is mostly about diluting your reservoir and buying time, not automating anything.
💧 Why This Hydroponic Feeding Schedule For Travelers Works
The approach comes down to two moves working together, the same two moves my beginner hydroponic nutrients guide covers for a normal, non-travel week. Diluting the nutrient solution before you leave keeps the concentration from climbing to a harmful level as water evaporates. Raising the light and shortening the timer slows how fast the plant drinks in the first place. Neither move alone buys you much time. Together, they turn a three-day death sentence into a routine weekend.
📊 Quick Crop Reference
- A hydroponic feeding schedule for travelers starts with diluting your reservoir, either to the EC 1.5 shared-reservoir compromise if several herbs share one light, or to the low end of a single crop’s own range if each jar stands alone.
- Raise your grow lights 2 to 3 inches higher than normal to slow down transpiration.
- Top off every reservoir with plain pH-adjusted water before you depart. Never top off with nutrients.
- Cut your light timer to 10 hours on for the trip only, then return it to the standard 14 on, 10 off once you’re home.
- Running one crop per jar → dilute each jar toward the low end of that crop’s own range, shown in the table above.
- Running a shared reservoir with several herbs under one light → use the EC 1.5 compromise instead. My guide to running basil, mint, and lettuce under one grow light covers that setup in detail.
💧 Preparing Your Hydroponic Feeding Schedule Before Departure
Any good hydroponic feeding schedule for travelers starts on Thursday evening, not Friday morning, because rushing this step while you’re also packing a suitcase is how mistakes happen. Planning ahead gives you time to measure your levels accurately and watch the plants for a few hours before you leave.
When water levels drop in small jars over a weekend, the nutrient concentration climbs, and that is what causes the aggressive tip burn you come home to. We avoid this by diluting the solution slightly before hitting the road, which is also the first place a working knowledge of EC pays off.
🧪 Thursday Night Top-Off Strategy
Your first move is a strategic water addition. Instead of pouring mixed nutrients into the jar, use plain water. This creates a larger buffer for the weekend.
To prepare your jars correctly on Thursday:
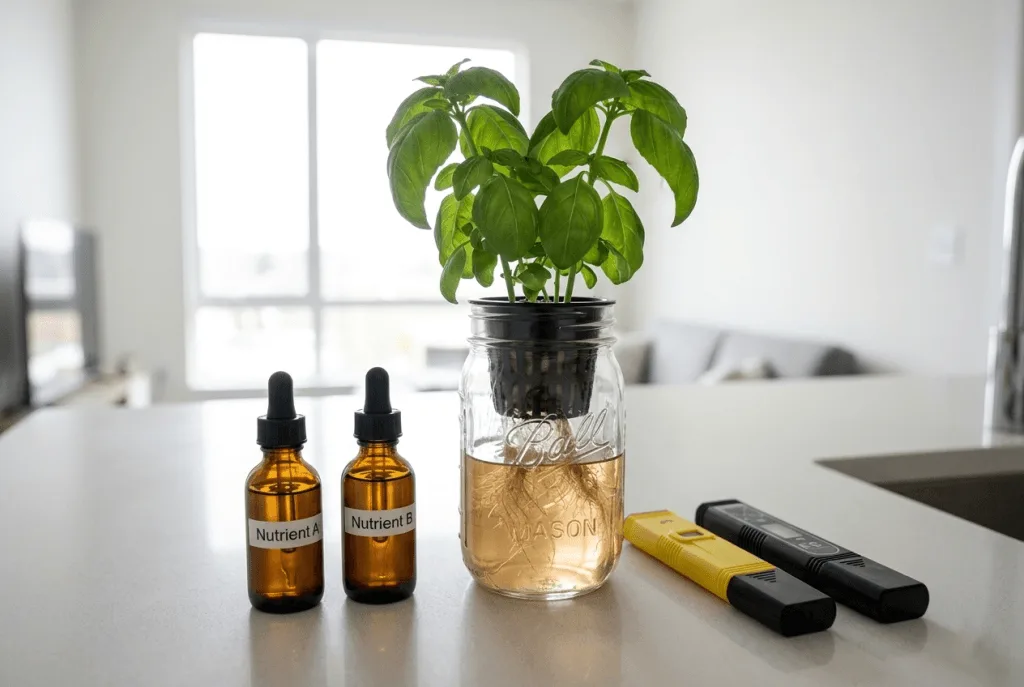
- Mix a fresh jug of tap water and use the pH and nutrient calculator to balance it.
- Adjust the water to pH 5.5 to 6.5 for basil, mint, and lettuce. Cilantro does best in the upper half, pH 6.0 to 6.5, and it bolts faster than the other three, which is exactly why I stopped calling it a beginner herb.
- Pour this plain pH-balanced water into your jars until it touches the bottom of the net cup.
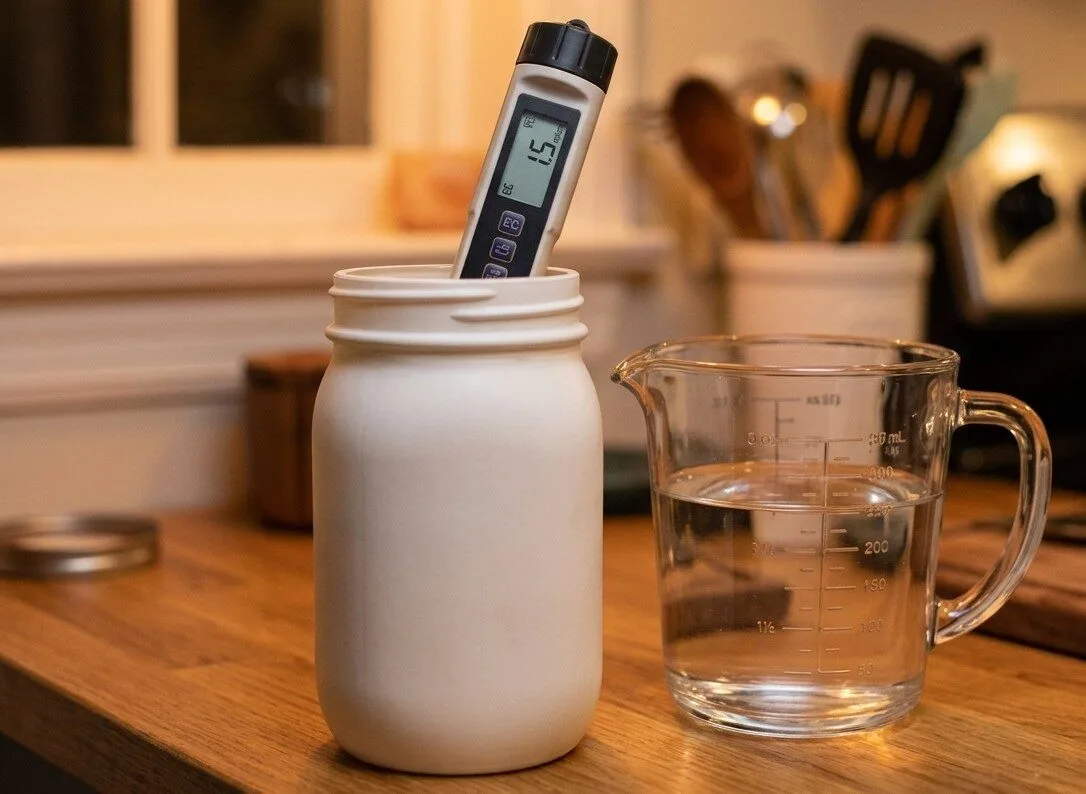
- Measure the final strength with an EC meter so it sits around EC 1.5 for a shared reservoir, or the low end of the crop’s own range if it has a jar to itself.
⚗️ Calming Down The pH Drift
A hydroponic feeding schedule for travelers also has to account for pH swings. Small reservoirs drift fast, and a three-day weekend is plenty of time for a real lockout. Stabilize the jar before you leave rather than hoping it holds.
If you notice the pH climbing on Thursday, don’t overcorrect with a heavy dose of pH Down, because too much acid at once shocks the roots just as badly as the drift did. Instead, dilute the whole jar with fresh water to reset the baseline.
→ Why Hydroponic pH Keeps Drifting In Small Systems (And How To Calm It Down)
Also useful: Best EC and TDS Meter for Small Hydroponic Reservoirs
Also worth a look: Best pH Meter for Hydroponics Beginners
🛠️ Modifying Your Apartment Setup
A hydroponic feeding schedule for travelers is not only about water. Apartment setups often run intense lights close to the canopy, which drives fast transpiration, so the plant can empty a jar in two days flat. You can buy time by adjusting the physical setup as well as the reservoir.
A few small changes force the plants to drink at a slower, safer pace while you’re out. Make these adjustments on Friday morning, once Thursday’s water change has already settled.
🩺 Adjusting Grow Lights And Timers
Light intensity controls how fast your herbs drink, so turning it down while you’re gone is like easing off the throttle. The standard 14 hours on, 10 hours off schedule is what you should return to the moment you’re home. It is not what you want running while nobody is there to top off water.
To slow down water consumption for the trip only:
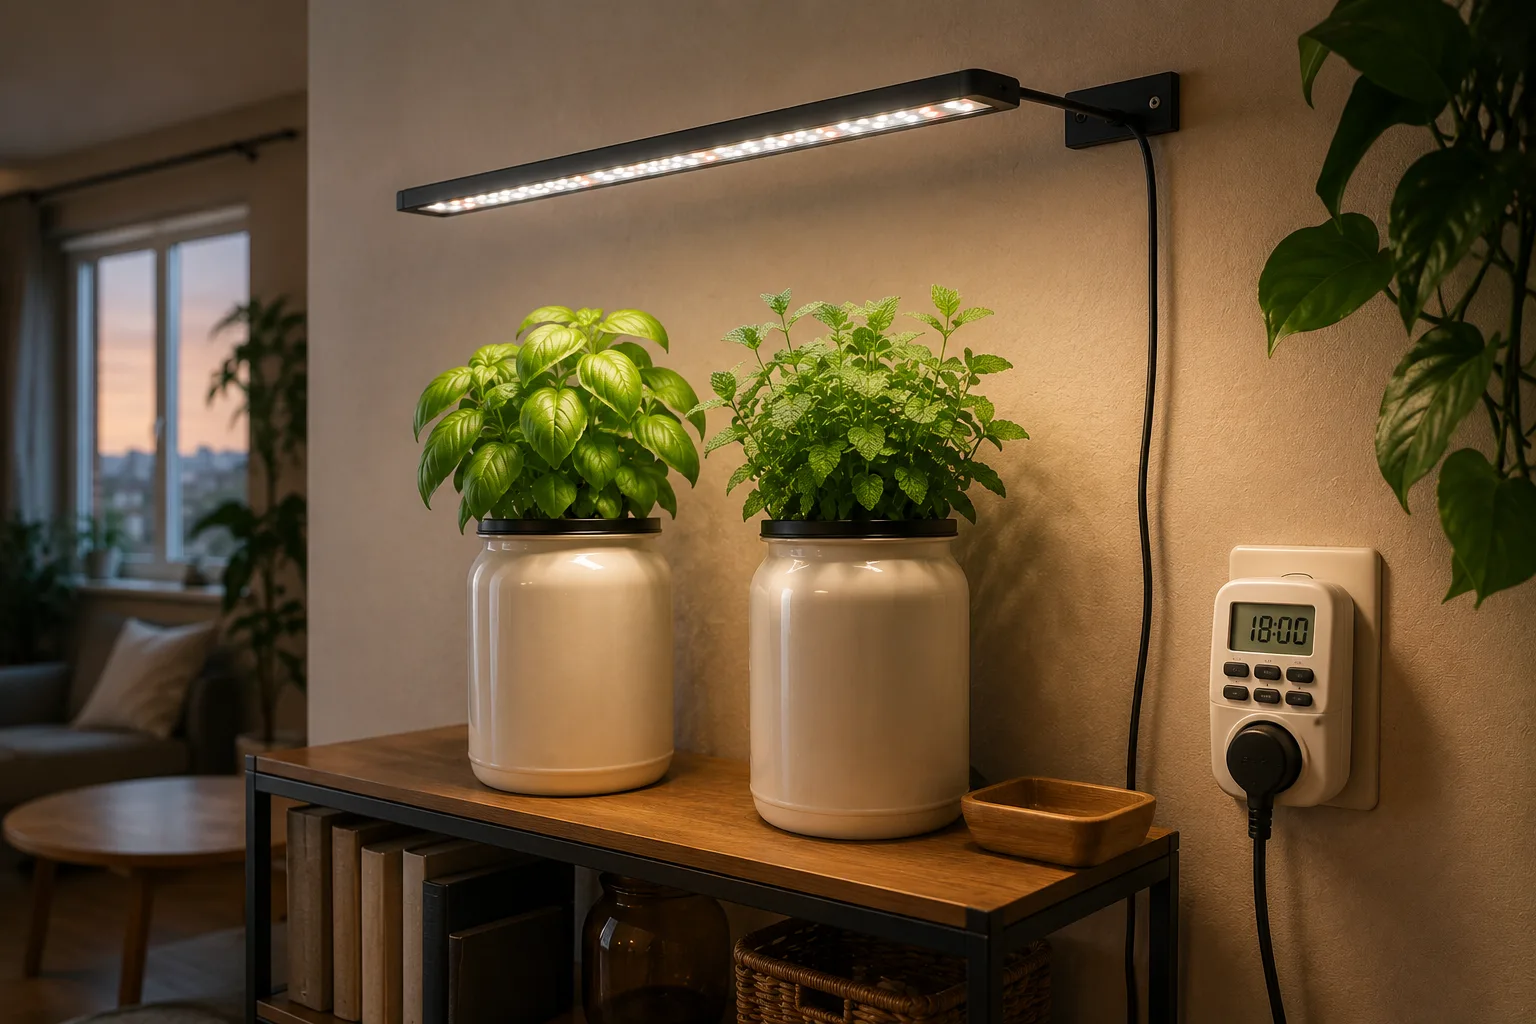
- Raise the grow light 2 to 3 inches higher than its current position.
- Reprogram your smart plug to run for 10 hours on instead of the usual 14.
- Dim the light panel by 20 percent if your model has a brightness dial.
- Keep the room between 65 to 75°F (18 to 24°C) if you’re mostly running warm-season herbs like basil, mint, or chives, and closer to 60 to 70°F (15 to 21°C) for cool-season crops like lettuce and cilantro. A single number does not work across that mix. The two groups simply want different rooms.
🩹 Upsizing Your Buffer Jars
The easiest way to support hydroponic plants while you travel is giving them a bigger tank. A standard pint jar only holds a few days of water for a mature basil plant, so upgrading your containers before a trip provides real breathing room.
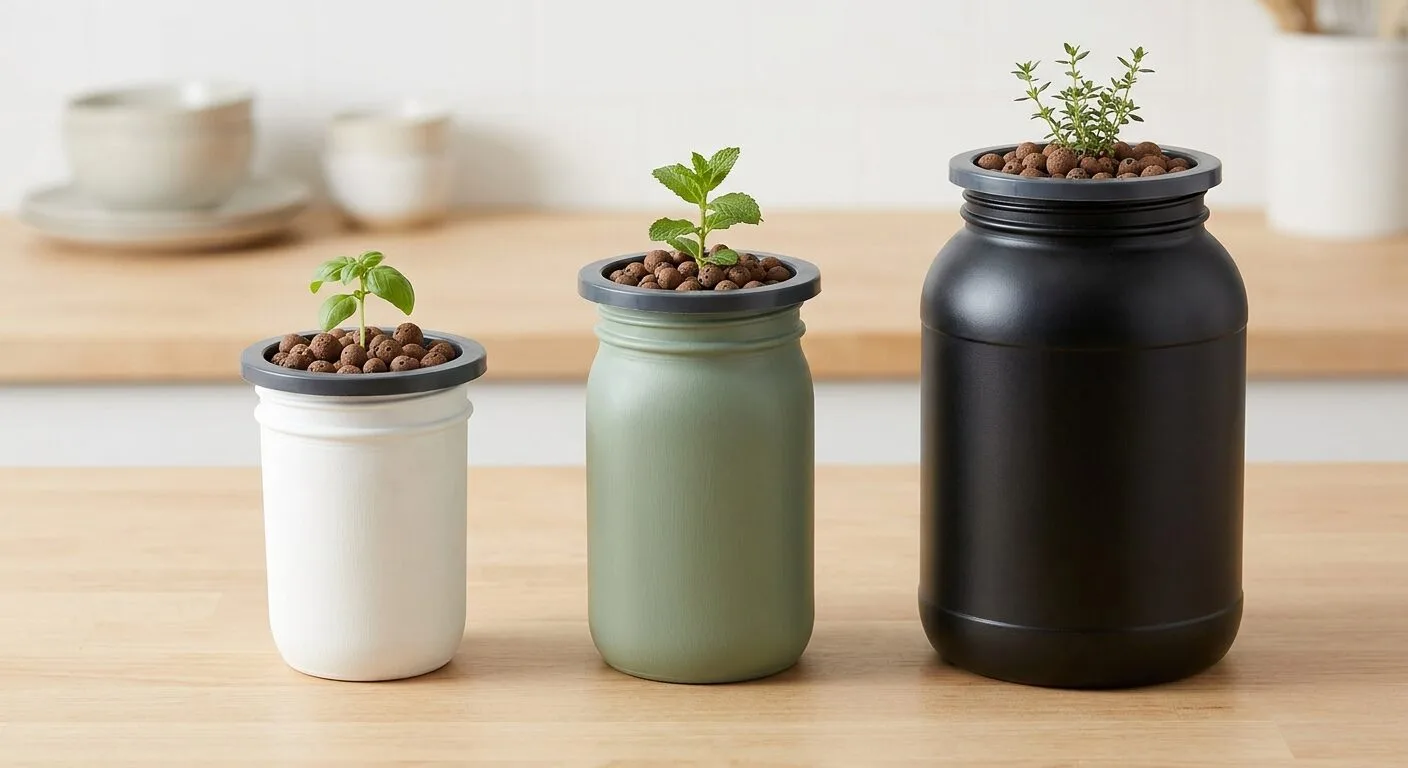
| Container size | Safe days unattended | Best for |
|---|---|---|
| Pint mason jar | 1 to 2 days | Seedlings only |
| Quart mason jar | 3 to 4 days | Young herbs, lettuce |
| Half-gallon jug | 5 to 7 days | Mature basil, mint |
- Leaving for a standard 3-day weekend → stick with quart jars.
- Leaving for a 5-day holiday trip → upgrade to half-gallon jugs.
🌿 The Best Crops For Traveling Apartment Growers
A hydroponic feeding schedule for travelers gets a lot easier if you grow forgiving plants in the first place. Some herbs tolerate a minor drought and a pH swing far better than others. If you travel often for work, it is worth tailoring your choice of herbs to match your schedule rather than fighting it every trip.
Mature fruiting plants like cherry tomatoes demand daily attention. Leafy greens and sturdy herbs offer a wider margin for error when left alone in a dim apartment.
🌱 Forgiving Herbs That Handle Neglect
Certain crops bounce back fast even after the water level drops too low. Mint is famous for this. Leave it with minimal water and it perks back up within hours of a refill, which is not true of most of the crops on this site.
Good crops for frequent travelers include:
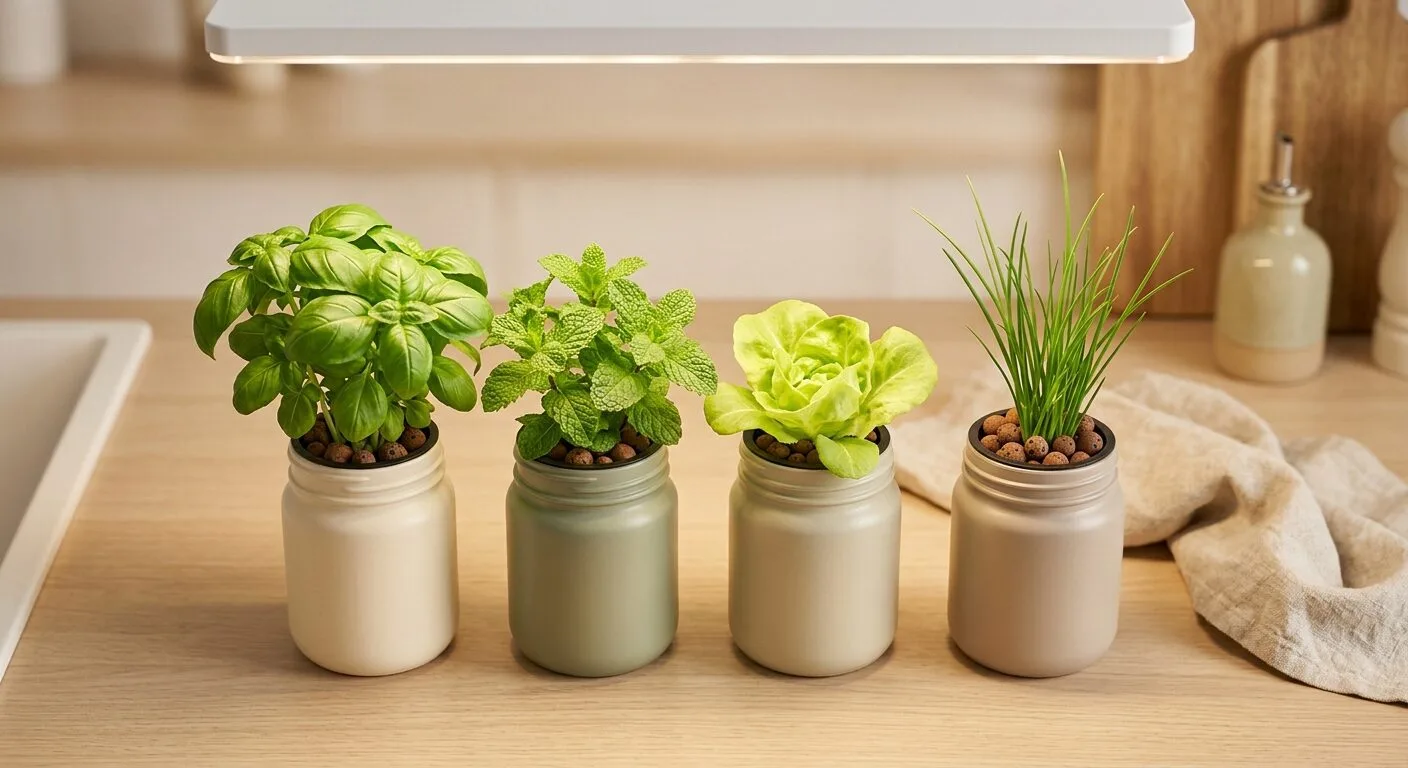
- Basil: vigorous, and it forgives minor EC mistakes better than people expect.
- Mint: the fastest recovery and the most forgiving root system on the shelf.
- Lettuce: the fastest harvest and the lowest light needs of the four.
- Chives: slow, but reliable, with very low maintenance once established.
🍃 Crops To Avoid If You Travel Often
Other plants dislike temperature swings and inconsistent feeding. If your apartment runs warm while you’re away in summer, cool-weather crops will bolt and turn bitter before you get home.
Cilantro is the clearest example. Cilantro is not a beginner herb, whatever a seed packet implies, and if the reservoir crosses 75°F (24°C) while you’re gone, it will flower and ruin the harvest. Oregano is the other one worth naming. It already wants its light just 4 to 6 inches above the canopy, closer than any herb in this guide. Dimming the panel or raising it further for a weekend can stall its slow, woody growth even more than usual.
⏱️ Step-By-Step Hydroponic Feeding Schedule For Travelers
Let’s walk through a practical hydroponic feeding schedule for travelers that covers a typical Friday-to-Monday absence. Sticking to a checklist keeps you from forgetting a top-off on your way out the door.
Treat this routine like packing a toothbrush and it becomes second nature. You can track plant timelines with the seed to harvest calculator so you aren’t leaving during a critical growth phase without realizing it.
☀️ The Friday Morning Checklist
Departure morning is for final physical adjustments only, since you already balanced the water the night before. Friday is about securing the hardware, not the chemistry.
Before leaving the apartment:
- Verify the grow light timer is set to 10 hours and plugged in firmly.
- Measure the reservoir temperature to confirm it sits between 65 to 75°F (18 to 24°C).
- Top off daily with plain pH-adjusted water one last time.
- Close the blinds so afternoon sun doesn’t overheat the jars while you’re gone.
→ Small Hydroponic System Temperature Problems And Easy Apartment Fixes
💡 The Monday Return Routine
Following this hydroponic feeding schedule for travelers keeps roots hydrated, but the plants will still be hungry when you get back. Monday is about gentle recovery, not aggressive feeding.
When you walk back in, resist the urge to pour full-strength nutrients into a half-empty jar. Instead, stick to the two-week full reservoir change rule. If you’re due for one, dump the old water, rinse the jar, and mix a fresh batch at EC 1.8 for basil or chives, or the low end of whatever crop you’re running.
🔍 Troubleshooting Plants After Your Trip
Even with the best hydroponic feeding schedule for travelers, you might come home to a minor headache. A timer can fail, or an unexpected heatwave can spike the room temperature while nobody is watching. Knowing how to diagnose the problem prevents panic.
Adjusting next month’s hydroponic feeding schedule for travelers based on what you find will make the next trip easier. Here is how to read the common Monday morning surprises.
- Not sure what is wrong yet → start with the quick diagnosis table.
- You already know the cause → jump to the relevant section below.
🔎 Quick diagnosis table
| What you see | Most likely cause | Check this first |
|---|---|---|
| 🟡 Brown crispy leaf tips | Water evaporated, EC spiked too high | Measure reservoir EC |
| 🟡 Severe wilting stems | Water dropped below the root zone | Check water level in jar |
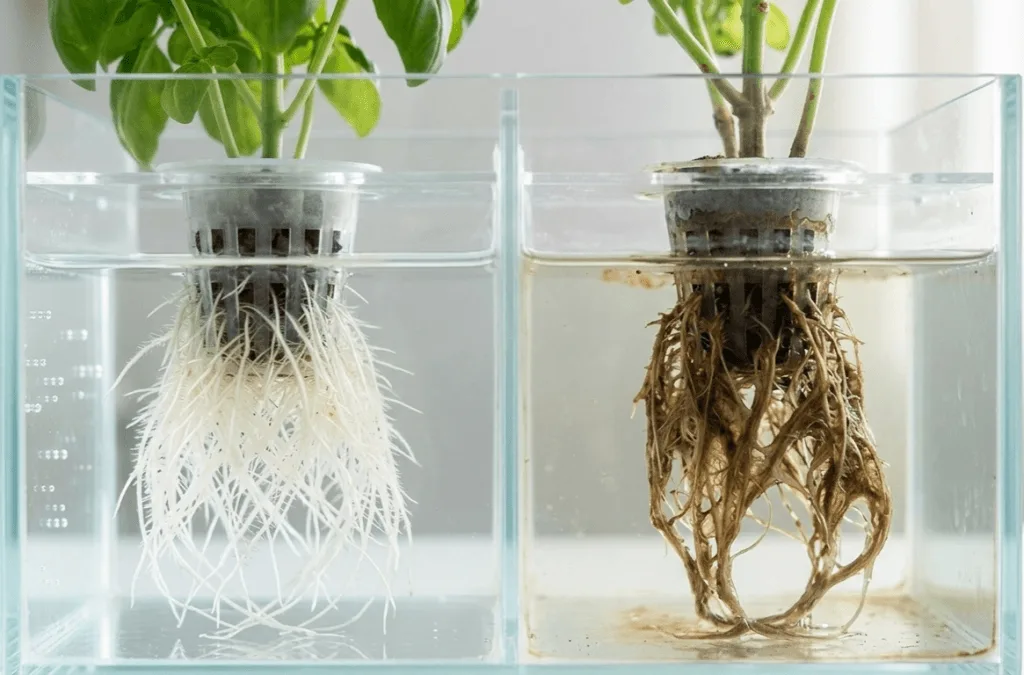
| 🟡 Slimy brown roots | Water temp exceeded 72°F (22°C) | Smell roots for rot |
If the tips are the problem rather than the whole plant wilting, my guide to lowering EC safely walks through that exact fix in more detail than there is room for here.
🚨 Fixing Wilted Monday Plants
If you come home to droopy basil, the water level likely dropped below the longest roots and the plant lost turgor pressure. Don’t add heavy nutrients right now, since the stressed roots can’t process them yet.
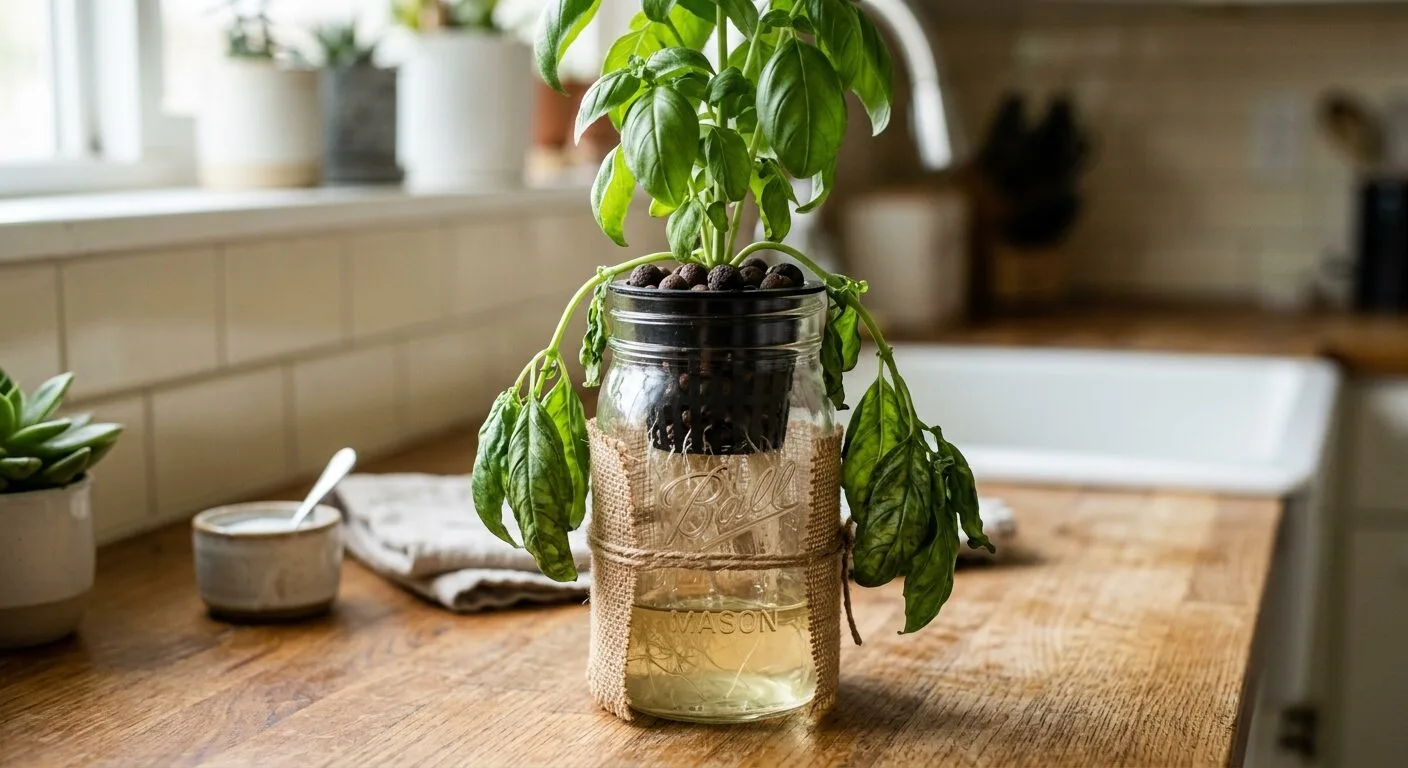
To revive a wilted plant:
- Fill the jar with plain, lukewarm water.
- Add a few drops of diluted hydrogen peroxide to boost oxygen.
- Wait 24 hours for the stems to stand upright again.
- Empty the jar and refill with fresh nutrients at a safe middle ground of EC 1.5, and hold it there for 4 to 7 days before ramping back up to full strength.
❌ Dealing With Unexpected pH Crashes
Sometimes the pH plummets while you’re away, simply from normal nutrient uptake. A crashed pH locks out calcium, which shows up as spots on new leaves. If this happens, the fix is straightforward, if a little wasteful.
Drain the entire reservoir. Trying to rescue a crashed quart jar with pH Up creates a chemical soup that stresses the plant further than the crash already did. Rinsing the jar and starting fresh is the safer path.
Also worth a read: University of New Hampshire Extension: Hydroponics at Home
💬 A Word From Sarah
The lesson that actually changed how I prep for a trip came from a jar of basil that looked fine the morning I left. I raised the light two inches like I tell you to do here. I drove four hours to my parents’ place and came back Sunday night to a plant wilted flat against the rim. The light height was right where I left it. The jar was down to less than an inch of water before I ever touched the light, so raising it slowed transpiration on a reservoir that was already nearly gone. Raising the light buys you time. It does not create water that isn’t there. Now the first thing I check before any trip is the water line, not the light, because a full jar with the light untouched beats a half-empty jar with the light raised every single time.
❓ Frequently Asked Questions
💧 What is the most important part of a hydroponic feeding schedule for travelers?
The core of a hydroponic feeding schedule for travelers is dropping your EC and raising your light height together. Lowering nutrient strength prevents tip burn as water evaporates over the weekend, while raising the grow light slows transpiration so the plants drink less water while you’re gone.
⏳ How long can hydroponic plants survive alone while I’m on vacation?
Most apartment herbs in quart mason jars survive three to four days alone without much trouble. A hydroponic feeding schedule for travelers should limit absences to a long weekend unless you upgrade to half-gallon jugs, since plants in small containers drink faster than most people expect.
💡 Should I turn my grow lights off before a long weekend trip?
Never turn your grow lights off entirely before a trip. Instead, reduce the timer to ten hours of light per day. This slows growth and water consumption without causing the stems to stretch or shocking the plant with a sudden change in day length.
🧪 Does lowering the reservoir pH help plants survive longer?
No, lowering pH outside the optimal range harms your plants rather than helping them. Keep the pH between 5.5 and 6.5 for most herbs, with cilantro in the upper half at 6.0 to 6.5. A stable pH lets roots keep absorbing nutrients while you’re out of town, which prevents the lockout that causes yellowing leaves.
🌊 Can I use tap water to top off my jars before I leave?
Yes, as long as you adjust the pH first. Plain tap water often carries a pH high enough to lock out nutrients over a long weekend. Use a digital meter or test drops to balance the water before it goes anywhere near your system.
🩹 Why do my hydroponic herbs wilt by Monday morning?
Wilted herbs usually mean the water level dropped below the lowest root tips. Once roots can’t reach moisture, the plant loses turgor pressure. Refilling with plain water and adjusting the EC helps most herbs recover within twenty-four hours, but check the roots for rot before adding any nutrients.
🛠️ Will an air pump make my vacation setup more reliable?
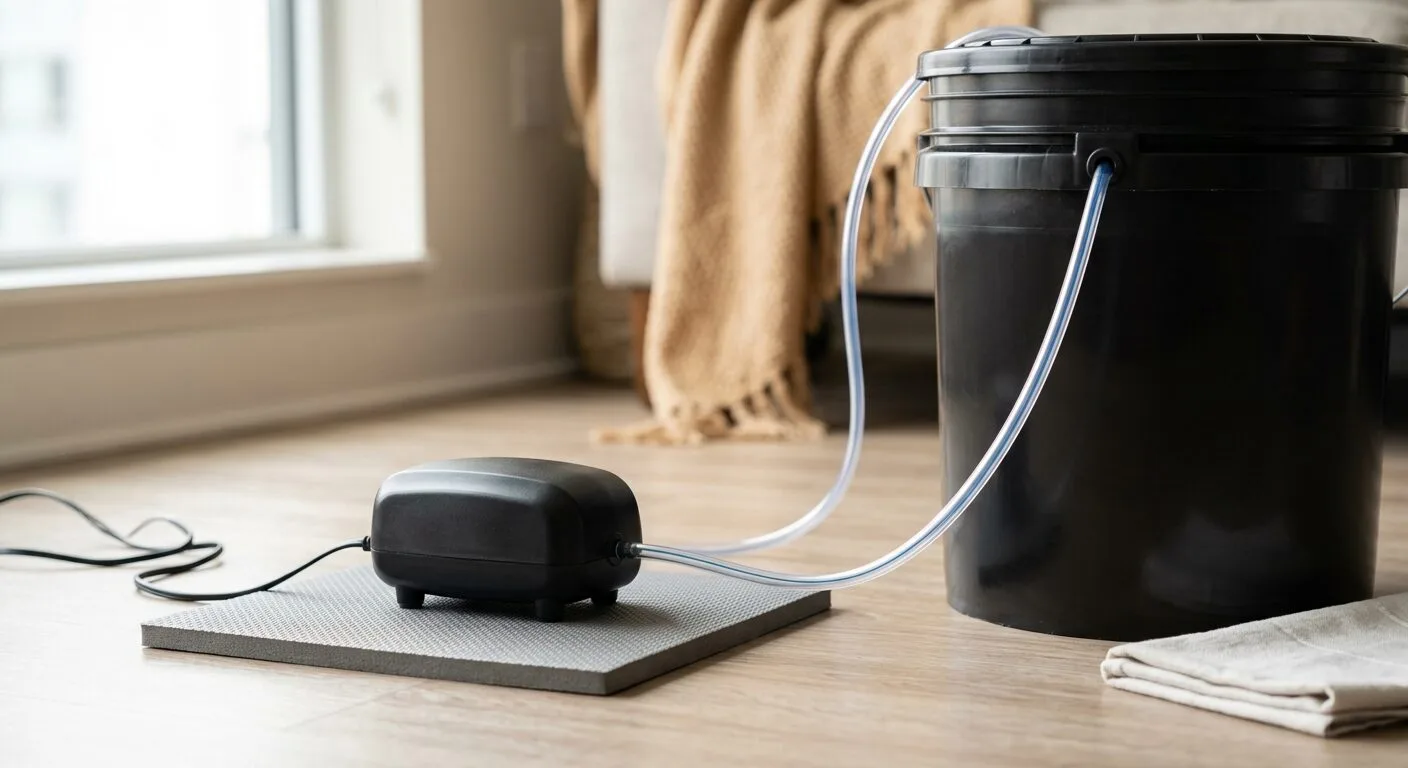
An air pump adds oxygen to the roots, which helps plants resist stress while you’re away. It won’t save a plant if the water level drops too low, though. Kratky setups without a pump are just as reliable as DWC for a short three-day weekend trip.
📅 How often should I feed hydroponic plants when I’m away?
Don’t feed at all while you’re away. Dilute the reservoir once before you leave and let the plants coast on that until you’re back. Adding nutrients mid-trip is how a reservoir with no one checking it ends up locked out by the time you walk back in.
🧳 Can I leave my hydroponic system for a week instead of a weekend?
A week is possible if you upgrade to half-gallon jugs and dilute a little further than you would for three days. Beyond a week, a proper automated drip or a self-watering smart garden is a better fit than any manual jar-based schedule can offer.
🌡️ How do I keep hydroponic water cool while I’m away in summer?
Close the blinds before you leave and keep the reservoir out of direct afternoon sun. Never cool a jar with ice cubes, since the temperature swing shocks roots and the cooling effect fades within an hour. A frozen bottle pressed against the outside of the container works far better and lasts longer.
🧪 What if my hydroponic reservoir EC spikes while I’m gone?
Do not add plain water straight into a spiked reservoir and call it fixed, since that only masks the number temporarily. Drain the jar, rinse it, and mix a fresh batch diluted to a safe middle ground. My guide to lowering EC safely covers the full recovery process step by step.
Happy growing! 🌿
Sarah, Urban Hydro Space

Sarah Whitfield is the founder of Urban Hydro Space and an indoor gardening enthusiast dedicated to helping apartment dwellers grow fresh herbs and vegetables in small spaces. She researches hydroponic systems carefully from real specifications and verified buyer feedback, and shares practical tips and honest, clearly labeled product picks to make indoor gardening accessible for beginners.