⏳ 11 min read · Last updated: September 2026
You can reuse clay pebbles crop after crop, because the fired clay itself barely wears out. What wears people down is the cleanup: roots woven through the pebbles, grey grit that heads straight for the sink drain, and old nutrient salts that quietly push the next reservoir off target.
This guide is a kitchen-sink routine for a small apartment. You’ll sort out the pebbles worth keeping, get the roots out without clogging anything, sanitize without harsh fumes, flush out old salts, then dry and store the batch until the next grow. If you’re new to growing in water, my apartment hydroponics beginner’s guide explains where clay pebbles fit.
📋 Reusing Clay Pebbles at a Glance
- Sort first, so cracked, crumbling or foul-smelling pebbles go in the trash.
- Rinse over a bowl and colander, because grit poured down a drain settles in the trap.
- Sanitize with boiling water or diluted hydrogen peroxide, but never bleach.
- Soak in plain water and compare the soak water’s EC with your tap water, so you know the old salts are gone.
- Dry the pebbles all the way through before you bag them, since damp clay grows mold.
- Just pulled a healthy crop? → start with getting the roots out
- Last crop had root rot? → read reusing pebbles after rot first
- pH climbing in a fresh reservoir? → jump to flushing out old salts
📊 The Routine in One Table
🔍 When Clay Pebbles Are Worth Reusing
Most of a used batch is worth saving. Expanded clay is fired, so it doesn’t rot or break down the way coco or peat does. Still, a few pebbles in every batch crack as roots push against them, and some batches are simply too far gone to be worth the effort.
🚮 Signs a Pebble Belongs in the Trash
Tip the batch onto a tray and sort it before anything touches water. Throw out any pebbles that show these signs:
- Deep cracks, or halves that have split open
- Crumbs and grit, since they only cloud the next reservoir
- Black slime that stays on after a rinse
- A rotten-egg smell that lingers even after washing
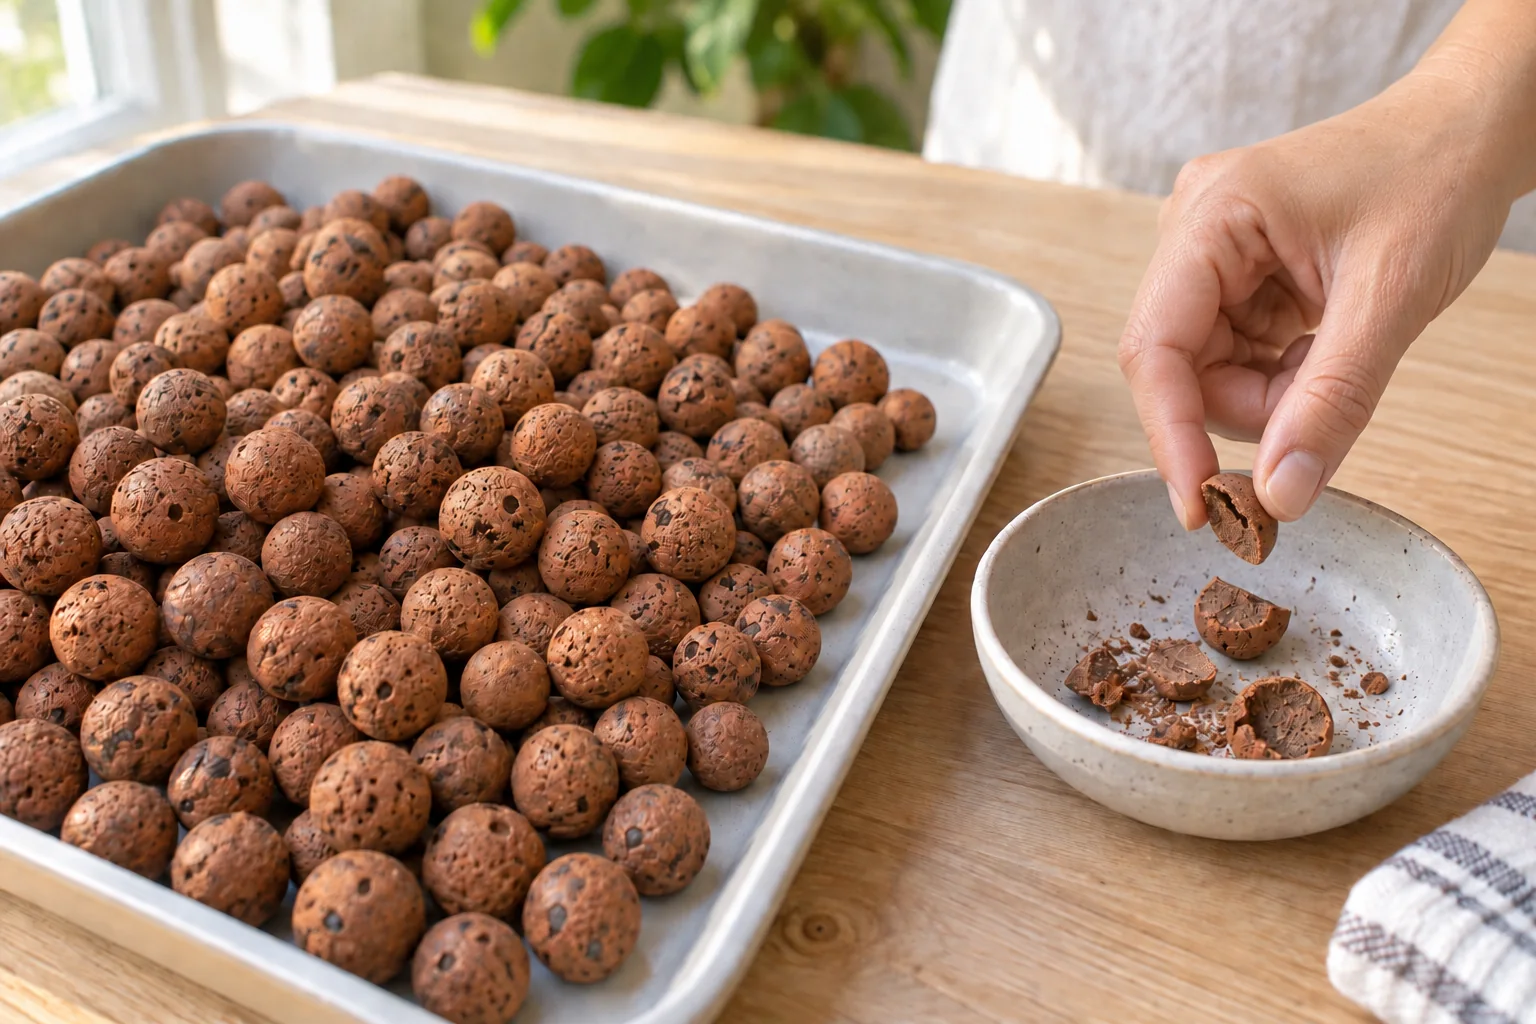
If most of the batch looks like that, buy a fresh bag rather than rescue it. Clay pebbles are cheap, while a lost crop costs you weeks. My hydroponic shopping list builder shows the current price of a replacement bag next to the rest of your supplies.
🚨 Reusing Pebbles After Root Rot
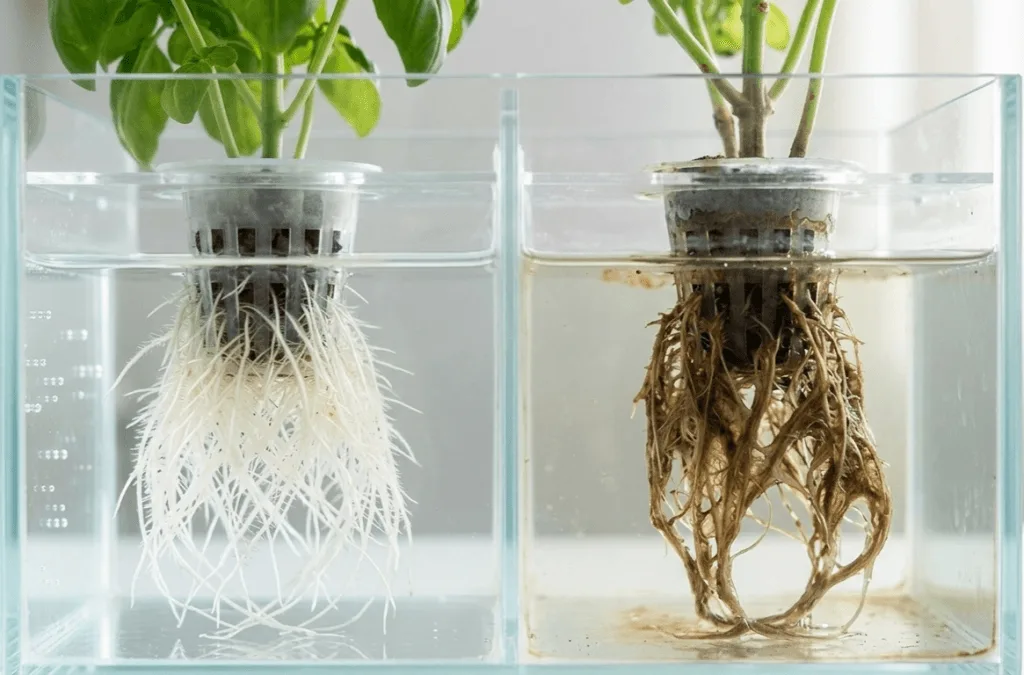
Pebbles from a crop that had root rot can be saved, but only with a full sanitizing step, never a quick rinse. Pick out every scrap of brown root, boil or peroxide-soak the batch, and flush it as described below. If the batch still smells sour after all of that, bin it. My guide to hydrogen peroxide for root rot covers treating the system itself.
🌱 Which Crops Leave the Worst Roots
Root mats differ a lot between crops. Fine-rooted greens such as lettuce leave threads that rinse out easily. On the other hand, basil and mint build dense, woody mats that grip the clay, so budget extra time after those two. Pebbles from a Kratky jar are usually the easiest, because there’s only a single net cup to clear.
🚰 Getting Roots Out Without Clogging the Sink
Clay grit behaves like sand in a drain. It settles in the trap, and a few batches of it can slow the sink to a crawl. So the rule is simple: the pebbles never go straight into the sink, and neither does the rinse water.
🥣 The Bowl and Colander Method
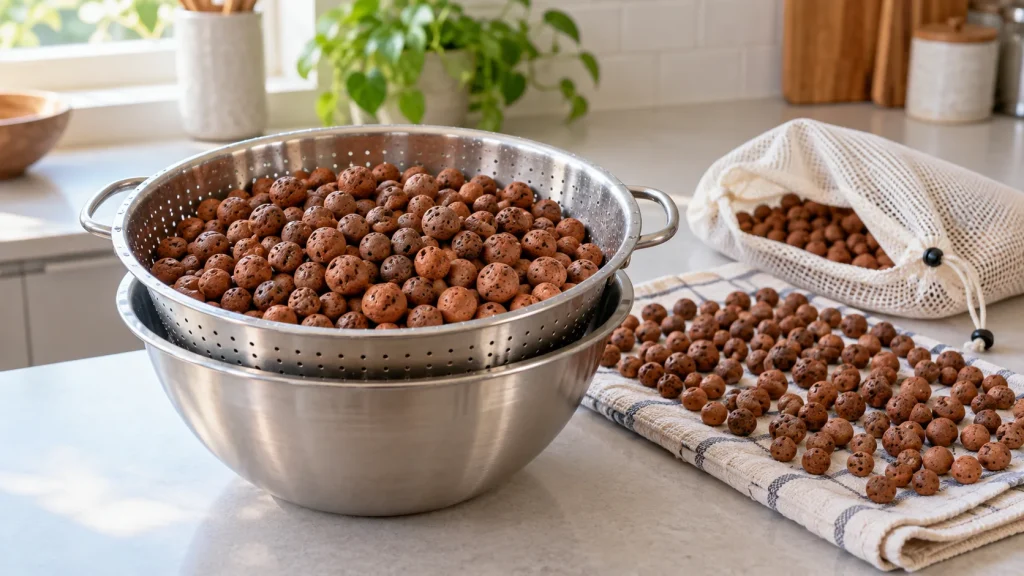
All you need is a colander that sits inside a larger bowl. The colander holds the pebbles, while the bowl catches roots, grit and dust.
- Set the colander in the bowl in the sink.
- Tip the used pebbles into the colander.
- Run lukewarm water over them and work the pebbles between your fingers to loosen the roots.
- Lift the colander out and let the bowl stand for a minute, so the grit settles.
- Pour the clear water off, then scrape the grit and roots into the trash rather than the drain.
- Repeat until the water in the bowl stays clear.
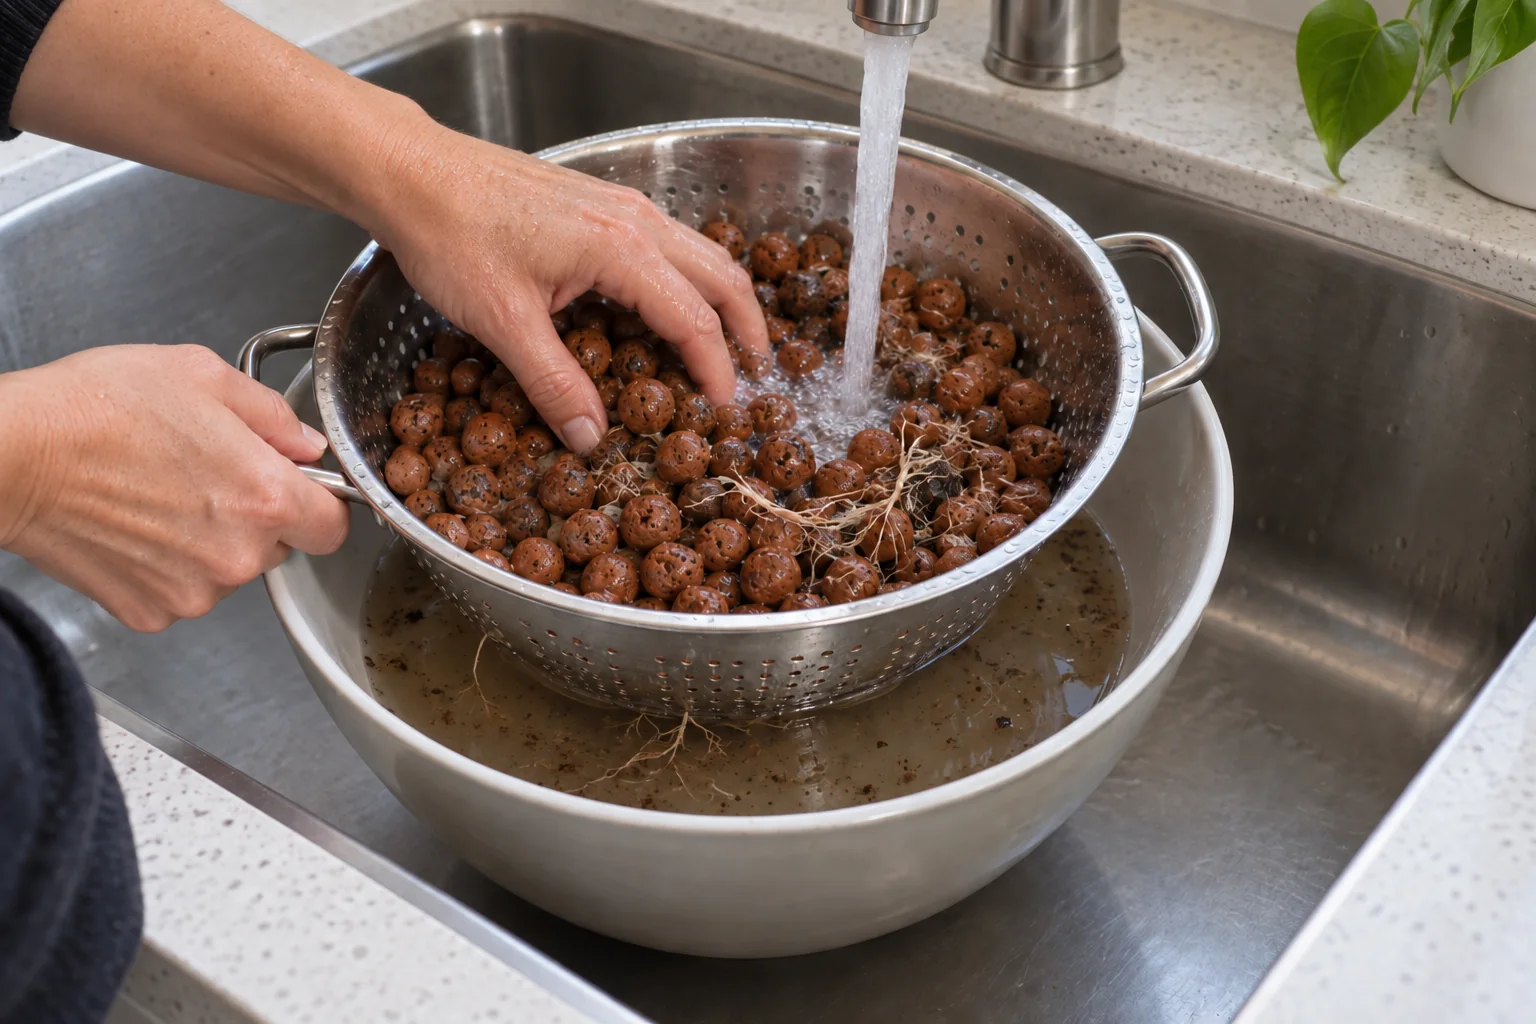
Renters have extra reasons to keep grit and water where they belong. My hydroponics tips for renters cover the rest, and a leak-safe tray or mat under the bowl catches splashes too.
🧶 Stubborn Root Mats
When a mat won’t let go, don’t tear at it. Instead, soak the whole clump in warm water until the dead roots soften, then tease it apart from the outside in. Loose pebbles drop out much more easily once the mat is soft. Clean the pebbles the day you pull the crop, too, because dried roots are far harder to shift.
🧪 Sanitizing Without Harsh Fumes
Rinsing removes what you can see. However, bacteria, algae and fungal spores sit in the pores of the clay, and they are what infect the next set of seedlings. So pick one of the two methods below, and use it every time you reuse clay pebbles from a crop that had any trouble.
♨️ The Boiling Method
Boiling uses no chemicals and leaves no smell, so it suits a small apartment well. Heat also reaches into the pores, where a surface rinse can’t.
- Put the rinsed pebbles in a metal pot and cover them with water.
- Bring the pot to a rolling boil and keep it there for about 15 minutes.
- Turn off the heat and let the pot cool before you touch it.
- Drain through the colander and rinse once more.
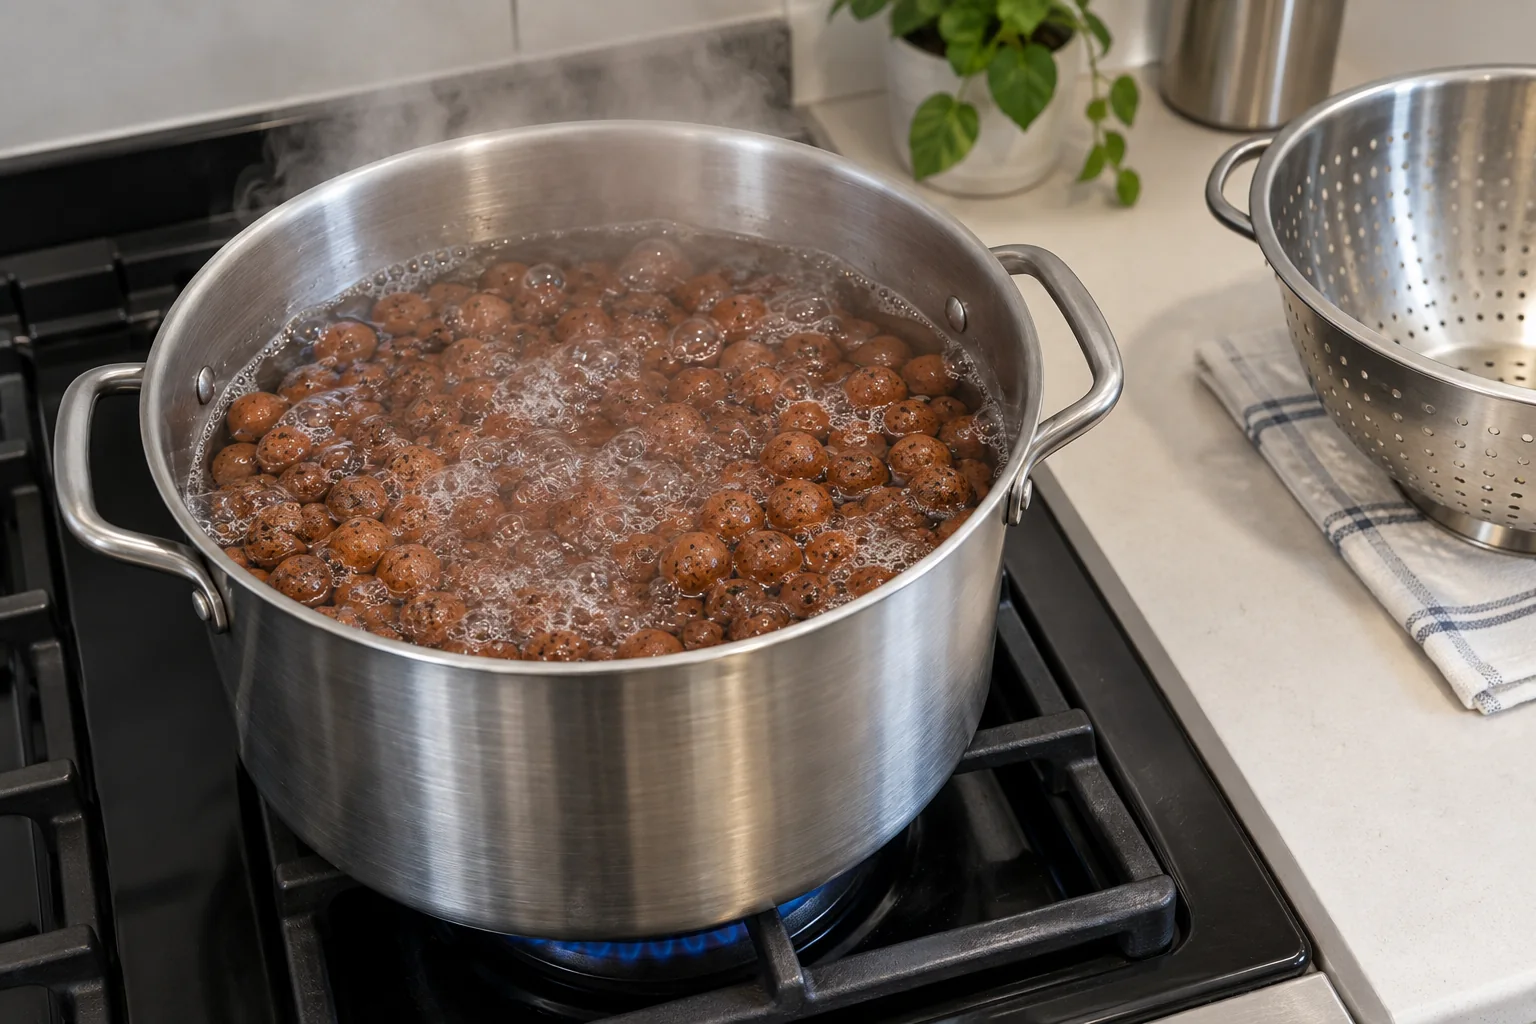
There’s no published standard for sanitizing home clay media, so the 15-minute boil is my own house practice rather than a researched figure.
💧 The Hydrogen Peroxide Method
If you’d rather not boil, use 3% hydrogen peroxide at 5 ml per litre of water. That is the strength I use for flushing empty equipment, and it is meant for short contact only.
- Cover the rinsed pebbles with the diluted peroxide.
- Stir them now and then so every surface gets wet.
- Take them out within about 20 minutes, rather than leaving them to sit.
- Rinse well with plain water afterwards.
🚫 Why I Don’t Use Bleach
Bleach leaves residue unless it is rinsed out perfectly, and porous clay is hard to rinse perfectly. It also fills a small apartment with fumes. So I don’t recommend it for pebbles, even though you’ll see it suggested elsewhere. Peroxide breaks down into water and oxygen, which is why it is the safer choice.
⚖️ Flushing Out Old Salts Before the Next Grow
This is the step most people skip. Clay pebbles sit in nutrient solution for weeks, so salts collect in and on them. When those salts leach back out, the next reservoir’s EC creeps up and its pH drifts, even though you mixed it correctly.
📏 The EC Soak Test
Your EC meter tells you when the pebbles are clean, so there’s no need to guess.
- Fill a bucket with tap water and note its EC.
- Submerge the sanitized pebbles and leave them overnight.
- Stir, then measure the soak water’s EC.
- If it reads clearly higher than your tap water did, drain, rinse, and soak again.
- Stop once the soak water reads close to plain tap water.
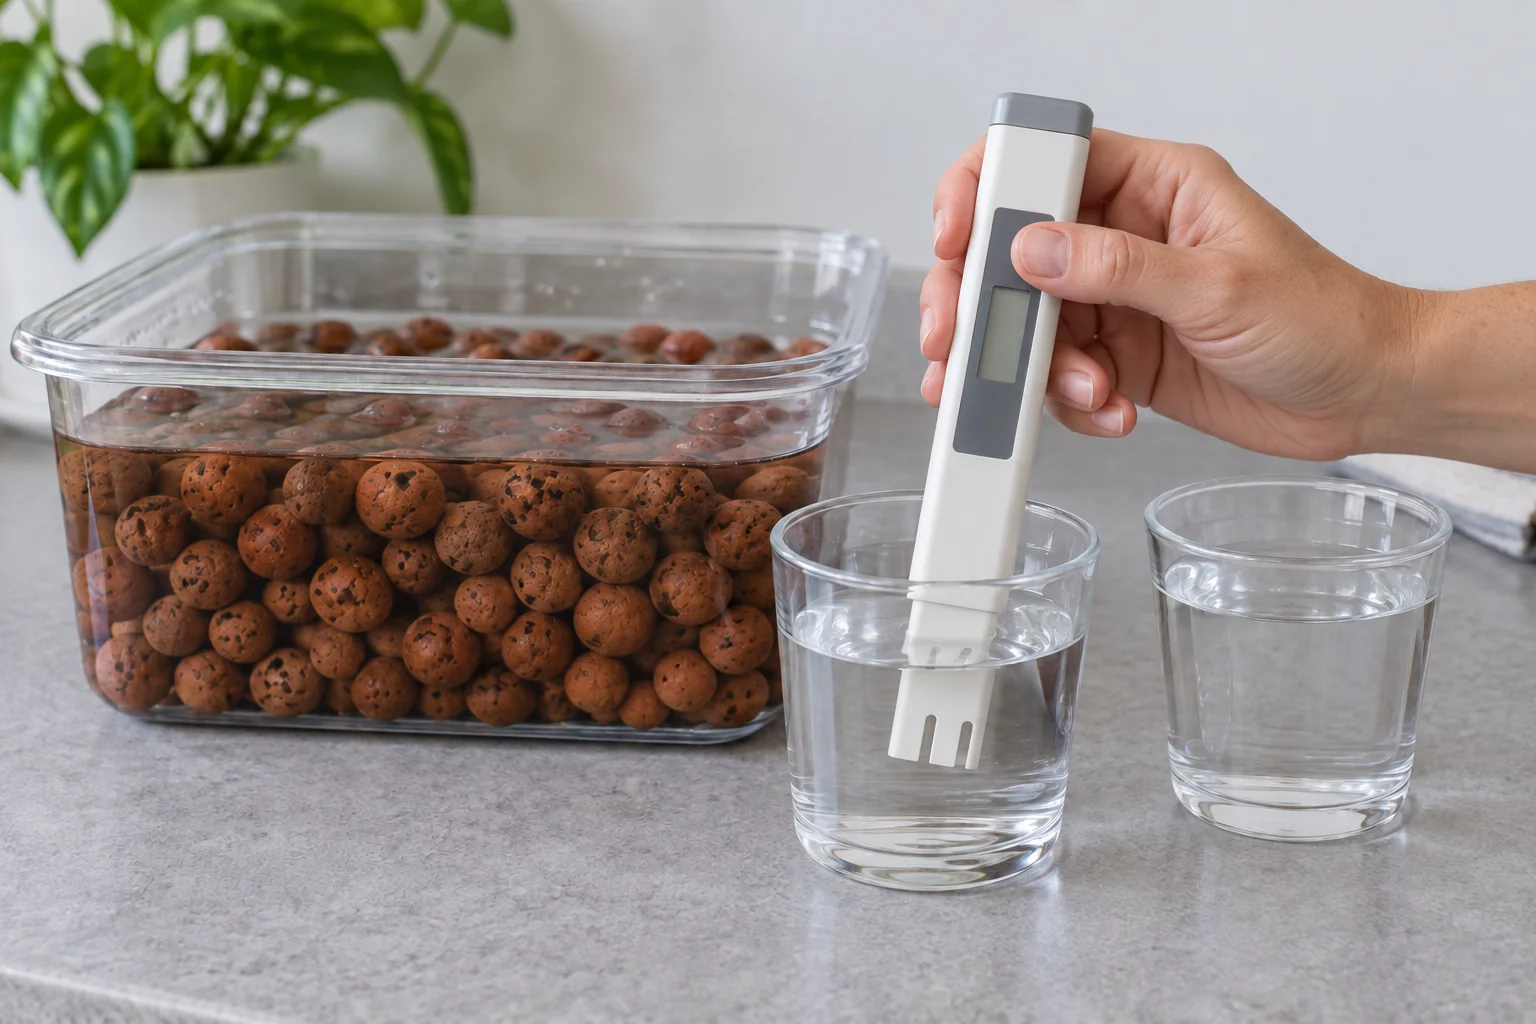
If you don’t own a meter yet, my picks for the best EC meter for small reservoirs start with budget options.
🔬 A Final Soak at Growing pH
Before planting, give the pebbles one last soak in water adjusted to pH 5.5 to 6.5, the range your herbs and greens grow in. That way the pebbles don’t pull your first reservoir off target. The pH and nutrient calculator helps with the adjusting, and a reliable pen from my best pH meter for beginners roundup makes the reading trustworthy.
Check the new reservoir’s pH again the day after planting. If it keeps climbing, my post on why hydroponic pH keeps drifting walks through the other usual causes.
🌤️ Drying and Storing Clean Pebbles
Clean pebbles can go straight into a new setup. But if you’re storing them, they must dry all the way through first, because damp clay in a closed bag grows mold and undoes the whole routine.
☀️ Drying Them Through
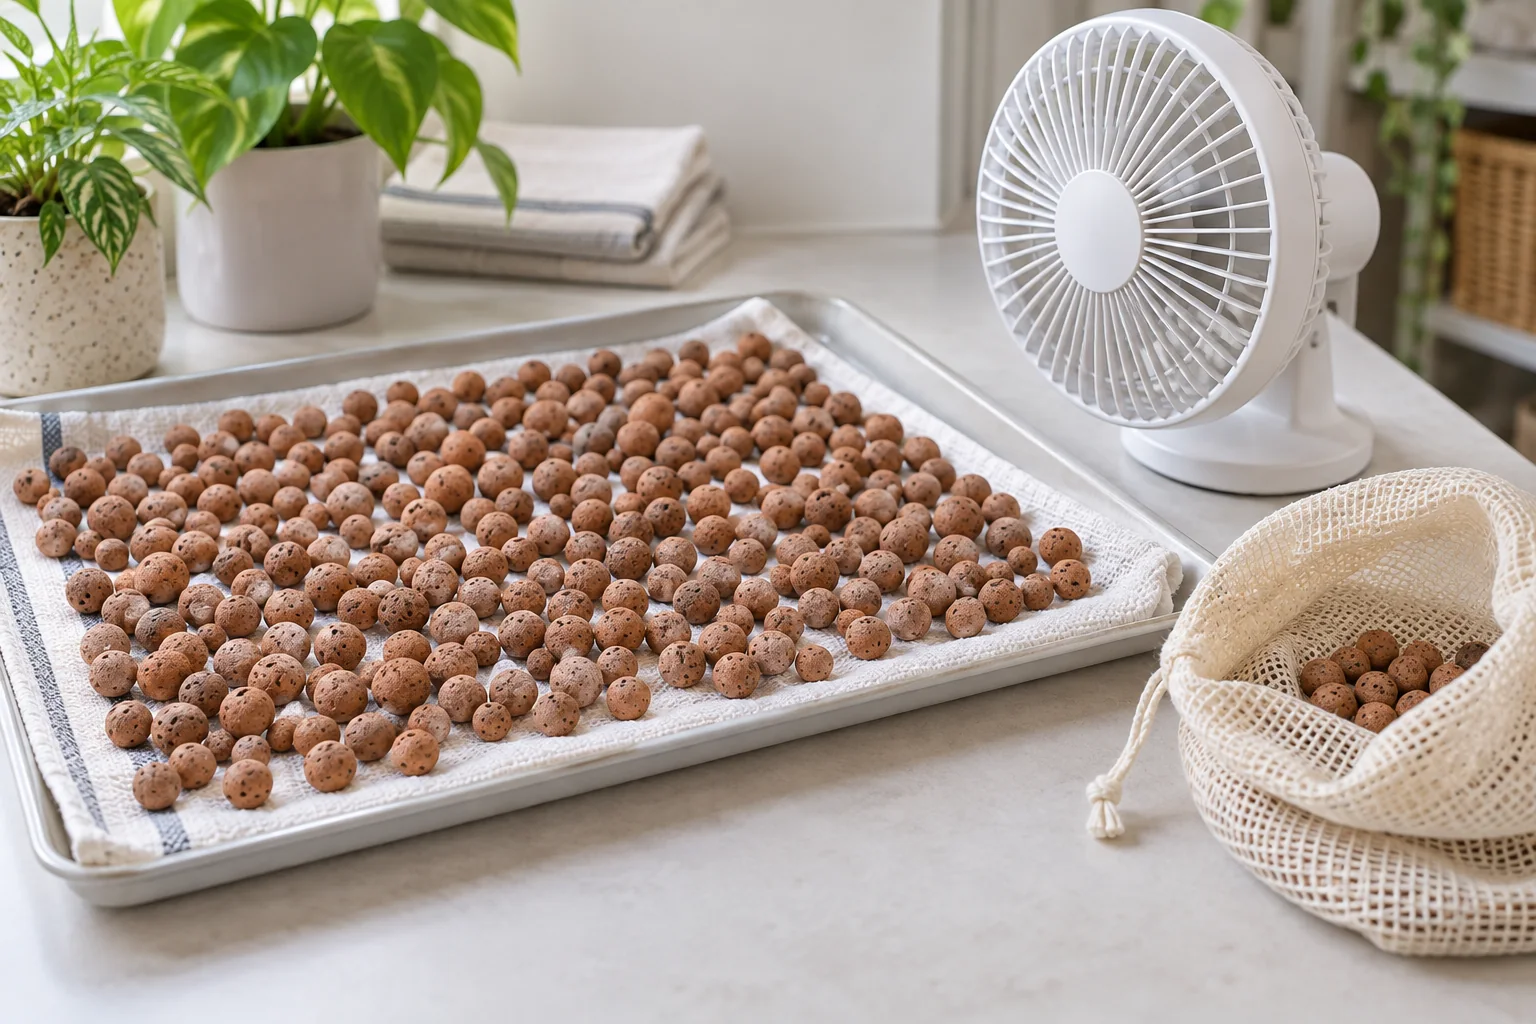
- Spread the pebbles in a single layer on a towel or tray.
- Point a small fan across them, so air moves over every side.
- Stir them once a day, since the underside dries last.
- Wait until they feel light and look evenly pale, which usually takes a few days.
📦 Storing Them Until Next Time
Once they’re dry, store them in something that breathes, such as a cloth bag or a mesh sack. Keep them in a closet away from sunlight. Also keep them away from open bags of potting soil or compost, because that is how fungus gnats travel between projects, as my guide to fungus gnats in indoor hydroponics explains.
When you start the next crop, give the pebbles a quick rinse to remove dust, then plan the timing with the seed to harvest calculator. For net cups that suit reused pebbles, see my best mason jar net cups.
🩺 Troubleshooting Reused Pebbles
🔎 Quick diagnosis table
| What you see | Most likely cause | What to do |
|---|---|---|
| ⚪ White crust on the pebbles | Salts left from old nutrient | Repeat the EC soak until it reads near tap water |
| 🟢 Green film on the top layer | Algae, because light reached wet pebbles | Sanitize, then shade the top of the net cup |
| 🤢 Rotten-egg smell after cleaning | Bacteria deep in the batch | Discard it, since a fresh bag is cheaper than a lost crop |
| 📈 pH climbing in the first week | Salts leaching from the clay | Flush the pebbles again, then change the water |
| 🌫️ Cloudy reservoir after planting | Clay dust | Rinse until the water runs clear |
Green film usually means light is getting in, so my guide to stopping algae in hydroponic jars is worth a read. A sour reservoir after planting is covered in why hydroponic water smells bad. Either way, the regular full water change every 2 weeks keeps the new crop on track, and the printable hydroponics tracker gives you a place to log the readings.
There’s no published standard for cleaning home clay media, so the 15-minute boil and the drying routine are my own house practice. The peroxide strength of 5 ml per litre for short contact and the advice to avoid bleach match the rest of the site, and my guide to hydrogen peroxide in hydroponics explains both doses. For background on small systems, see the University of Minnesota Extension guide to small-scale hydroponics.
💬 A Word From Sarah
Clean the pebbles the day you pull the crop, not the week after. Fresh roots rinse out in minutes, while dried ones cling to the clay. Keep a bowl and colander just for this job, and let your EC meter tell you when the pebbles are ready. It is the one test that turns “probably clean” into clean.
❓ Frequently Asked Questions
🔁 How many times can you reuse clay pebbles?
As long as they stay whole. Fired clay doesn’t rot, so intact pebbles can go through many crops. Sort out cracked and crumbling ones each time, and replace the batch if most of it is breaking down or still smells after cleaning.
♨️ Do I have to boil clay pebbles every time?
Not after every healthy crop. A thorough rinse and the EC soak test are enough when the last crop was clean. Sanitize by boiling or with diluted peroxide whenever the previous crop had root rot, algae or pests.
📈 Why does my pH rise after reusing clay pebbles?
Old nutrient salts leach out of the clay into the new reservoir. Soak the pebbles in plain water and compare the soak water’s EC with your tap water, repeating until they match. Then finish with a soak at pH 5.5 to 6.5 before planting.
🚫 Can I use bleach to clean clay pebbles?
I don’t recommend it. Bleach leaves residue unless it is rinsed out perfectly, and porous clay is hard to rinse perfectly. Boiling, or 3% hydrogen peroxide at 5 ml per litre for short contact, cleans the pebbles without that risk.
💧 How much hydrogen peroxide should I use on clay pebbles?
Use 3% hydrogen peroxide at 5 ml per litre of water, the strength for flushing empty equipment. Keep contact short, about 20 minutes, then rinse the pebbles in plain water before you use them.
🍽️ Can I put clay pebbles in the dishwasher?
No. Loose grit and root scraps can clog the dishwasher filter and drain. Wash the pebbles by hand over a bowl and colander, and put the grit in the trash instead of down any drain.
☀️ How long should clay pebbles dry before storage?
Until they are dry all the way through, which usually takes a few days in a single layer with a fan on them. They should feel light and look evenly pale. Bag them in something breathable, never in a sealed tub while damp.
🆕 Do new clay pebbles need rinsing too?
Yes. New bags carry clay dust that clouds a reservoir. Rinse them in the bowl and colander until the water runs clear, then give them the same final soak at pH 5.5 to 6.5 before planting.
🔄 Can I mix old and new clay pebbles?
Yes, once the old ones are cleaned and flushed. Mixing is a good way to top up a batch after sorting out the broken pebbles. Run the EC soak test on the mix so you know the old salts are gone.
🍃 Can I compost the old roots?
Healthy roots can go in a compost bin or your food-waste collection. Roots from a crop that had root rot are better in the trash, so any disease doesn’t travel with them.

Sarah Whitfield is the founder of Urban Hydro Space and an indoor gardening enthusiast dedicated to helping apartment dwellers grow fresh herbs and vegetables in small spaces. She researches hydroponic systems carefully from real specifications and verified buyer feedback, and shares practical tips and honest, clearly labeled product picks to make indoor gardening accessible for beginners.