⏳ 12 min read · Last updated: May 2026
Disclosure: This post contains affiliate links. If you purchase through these links, I may earn a small commission at no extra cost to you. Thank you for supporting Urban Hydro Space!
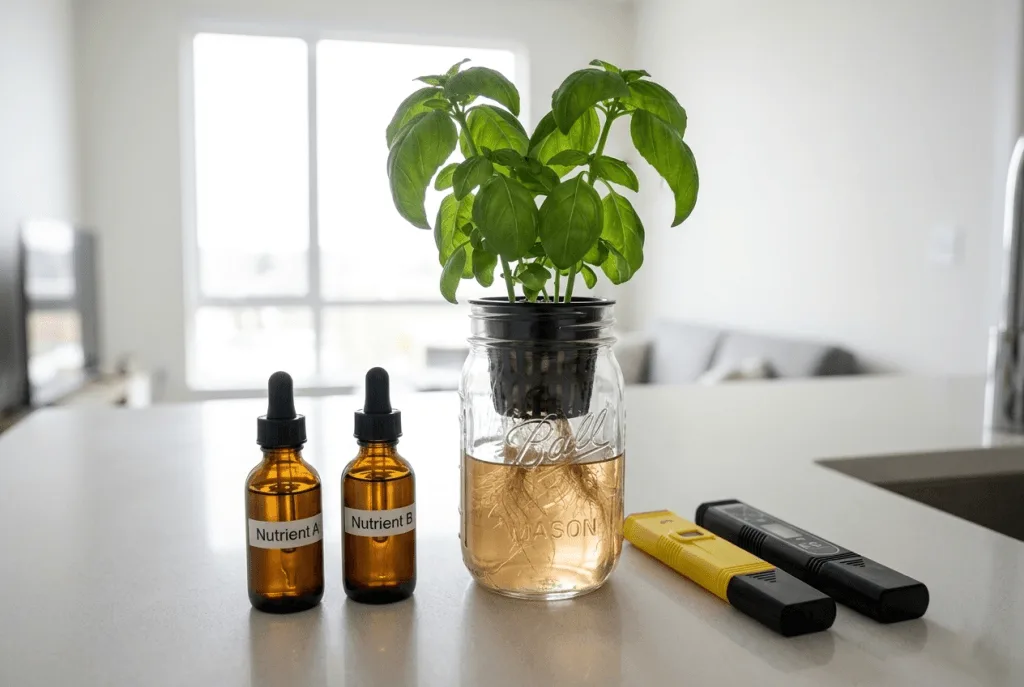
Finding the best pH meter for hydroponics beginners usually takes a lot of frustrating trial and error. I wiped out my entire first mint batch by keeping my EC at 2.4 while the acidity sat at a harsh 4.0. Dropping the nutrients to EC 1.8 and adjusting the water back to pH 6.0 fixed the remaining plants within a week. Guessing your water chemistry rarely ends well.
After that failure, I spent months testing different devices on my countertop setups. You do not need a laboratory-grade sensor to grow great basil in your kitchen, but you do need something reliable that holds its calibration. This guide shows you exactly how to pick the right tool and keep your apartment garden thriving. If you are still deciding on your first system, the apartment hydroponics beginner guide covers the full equipment picture before you spend anything on sensors.
🧪 Why the Best pH Meter for Hydroponics Beginners Is Your Most Important Tool
Testing water chemistry is the single habit that separates thriving apartment gardens from failed ones. The wrong pH level locks plants out of nutrients even when the fertilizer dose is perfect. This condition is called nutrient lockout. It kills plants slowly while looking like a feeding problem. A reliable meter gives you a number you can trust, and that number drives every other decision in your grow. Getting the sensor right from the start costs far less than replacing dead plants every few weeks.
- The best pH meter for hydroponics beginners reads accurately between pH 5.5 to 6.5 consistently. → how to choose
- Always store the glass probe wet in potassium chloride solution to prevent permanent damage. → storage routine
- Test your small reservoir every 3 to 5 days to catch fluctuations early. → testing guide
- Always dilute acid adjusters in a separate cup before pouring into your main system. → adjusting numbers
- Check pH before and after every reservoir change. Small adjustments on change day are far easier than emergency corrections mid-grow. → testing guide
Quick Picks: Four Testing Methods Compared
- Absolute tight budget → General Hydroponics pH Test Kit, 4.7 stars, 30,000+ reviews, under $14
- Budget digital option that also reads EC and temp → KETOTEK pH + EC + Temp Meter, $16.99
- Best long-term accuracy → Apera PH20, around $50
- Cheapest possible option → generic yellow pens, but expect to replace them within a few months
- Not sure which device to buy → start with Choosing the Right Device
- Already have the meter and need setup help → jump to My Top Pick Review
- Meter is giving strange readings → jump to Fixing Common Issues
- Want to understand the maintenance routine → jump to Storage and Maintenance
🏆 Top Pick
Apera Instruments AI209 PH20
Best pH Meter for Hydroponics Beginners
★★★★☆ 4.4 out of 5 (8,764 reviews)
Accurate to ±0.1 pH, fully waterproof, automatic temperature compensation, includes calibration solution and KCl storage cap. Holds calibration for weeks in a small apartment system.
🔍 Choosing the Best pH Meter for Hydroponics Beginners
Many new apartment gardeners skip water testing to save money, and their plants stall after a few weeks. I consider finding the best pH meter for hydroponics beginners a required step before you buy seeds. If you are setting up one of the best beginner hydroponic starter kits, monitoring your water chemistry is not optional. A good device gives you a quick, digital readout so you can adjust your reservoir with confidence.
💧 Understanding Nutrient Lockout
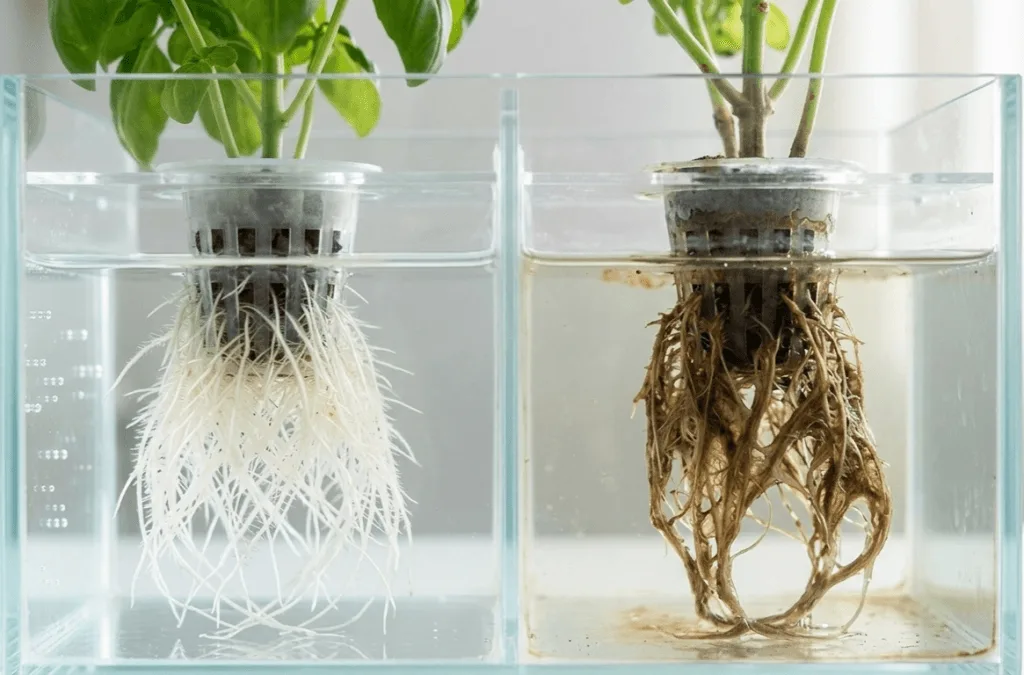
Plants absorb food best when the water stays within a specific acidity range. When the reservoir strays too far from that range, the roots cannot pull in minerals like iron or calcium. This condition is called nutrient lockout. Your greens look starved even if you recently added liquid fertilizer. Most leafy greens prefer pH 5.5 to 6.5. When the number climbs to 7.0 or drops below 5.0, roots become stressed fast. If you notice strange spots or color changes, the guide on why apartment hydroponic plants turn yellow helps rule out lighting issues before blaming the water.
📉 Why Cheap Yellow Pens Fail
When shopping online, you will find thousands of cheap yellow testing pens for under ten dollars. These tools lose calibration almost immediately and are sensitive to temperature changes, giving wildly different readings from morning to night. I bought three of these when I started and spent more time recalibrating them than growing anything. To find the best pH meter for hydroponics beginners, skip the generic unbranded options. Look for devices with replaceable probes, dedicated storage caps, and automatic temperature compensation. Use the grow light calculator once your water chemistry is sorted, so both your lighting and pH are dialled in at the same time.
🧫 My Top Pick Review and Setup
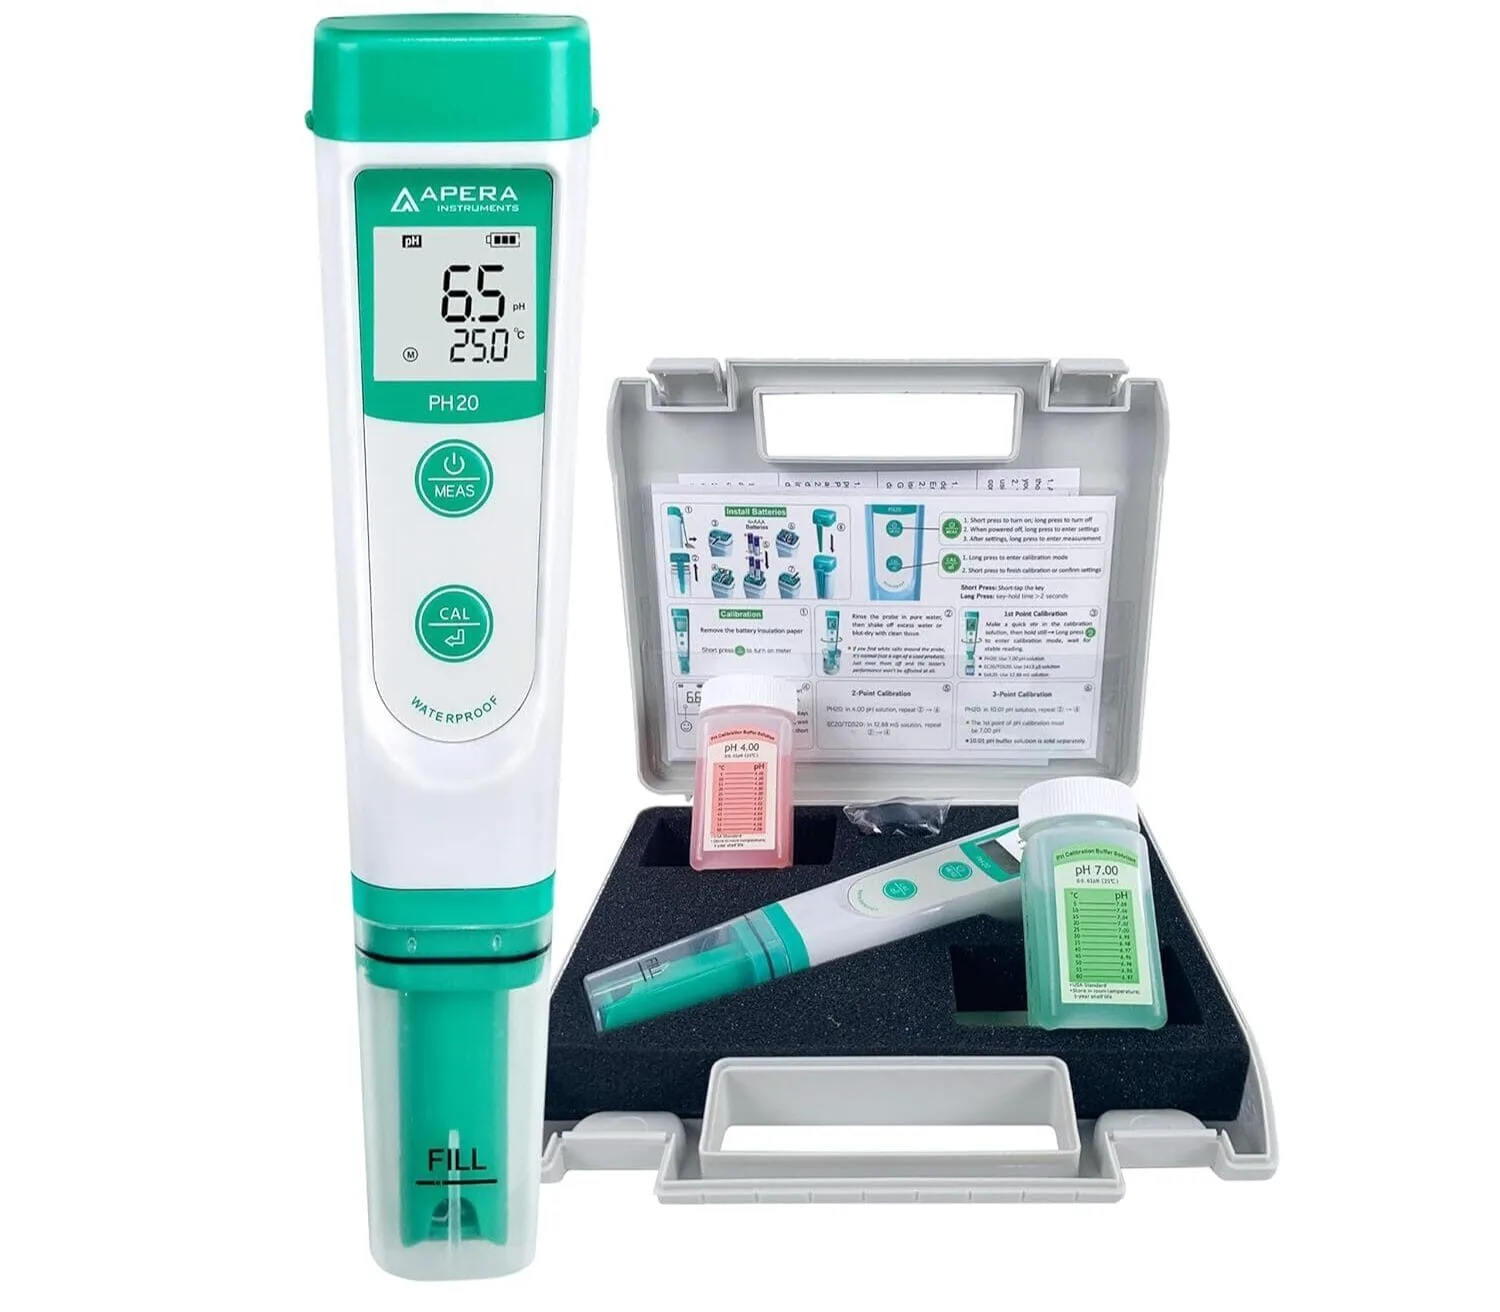
After testing multiple brands, I consider the Apera Instruments AI209 PH20 the best pH meter for hydroponics beginners. It provides reliable readings, holds calibration for weeks, and comes as a complete kit with everything you need to start right away. Rated 4.4 out of 5 stars from 8,764 reviews and priced at around $50, it costs more than a generic pen, but it protects your plants from the sudden nutrient shock that cheaper tools miss. To build out the rest of your testing kit alongside it, the free shopping list builder puts together a complete equipment list based on your budget and setup.
The device uses a glass bulb sensor that responds fast and includes automatic temperature compensation. Water temperature alters chemical readings, so this adjustment ensures you get the correct number whether your reservoir is cold from a morning top-off or warmed from an afternoon windowsill.
📐 Unboxing and First Impressions
When you open the Apera case, you will find the meter, two small bottles of calibration fluid, and a lanyard. The device feels solid in hand. Inside the protective cap sits a small sponge that holds the potassium chloride liquid needed to keep the sensor alive between uses. Never let the sensor dry out. The provided kit gives you exactly what you need to maintain it from day one. If you are mixing the best hydroponic nutrients for small systems, having these tools ready on the same day makes the whole setup feel manageable.
🔬 Calibration Made Simple
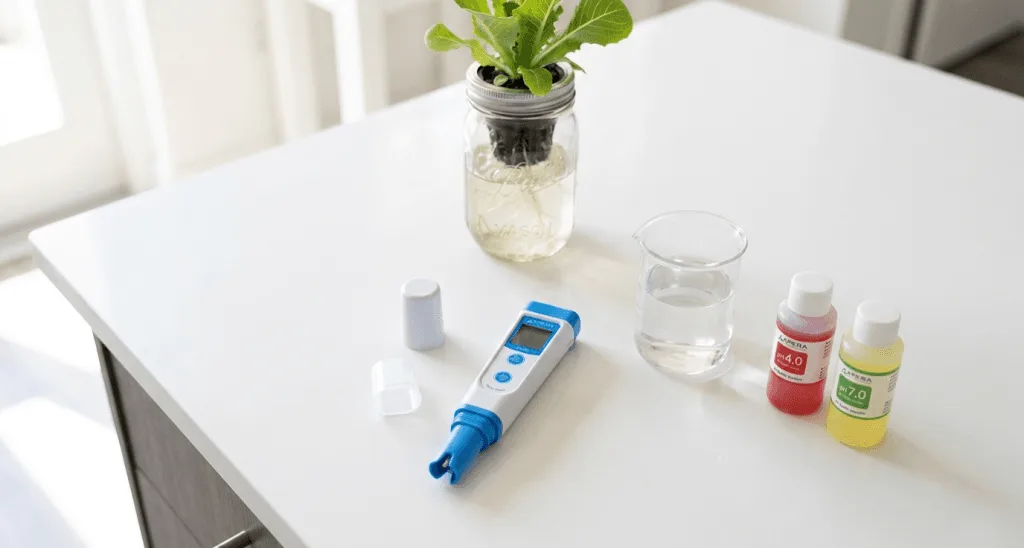
Even the best pH meter for hydroponics beginners needs to be told what normal looks like. Calibration sounds technical but takes about three minutes. You dip the pen into liquids with known values so the device can adjust its internal math. Here is how to do it without spilling:
- Pour a small amount of the pH 7.0 buffer solution into a clean glass.
- Rinse the probe tip in distilled water and shake it gently to remove drops.
- Submerge the tip into the buffer and press the calibration button.
- Wait 30 to 60 seconds until the confirmation icon appears on the screen.
🚰 How to Test Your Small System Reservoir
Once your device is calibrated, testing your garden should become a routine habit. Check your water every 3 to 5 days for small countertop units. Waiting longer allows acidity to swing as plants consume water and leave dissolved salts behind. For the full picture on reservoir maintenance, including when to top off versus when to do a full change, see the guide on how often to change hydroponic water. Once your pH is stable and your grow is running smoothly, use the seed to harvest calculator to plan exactly when to expect your first cut.
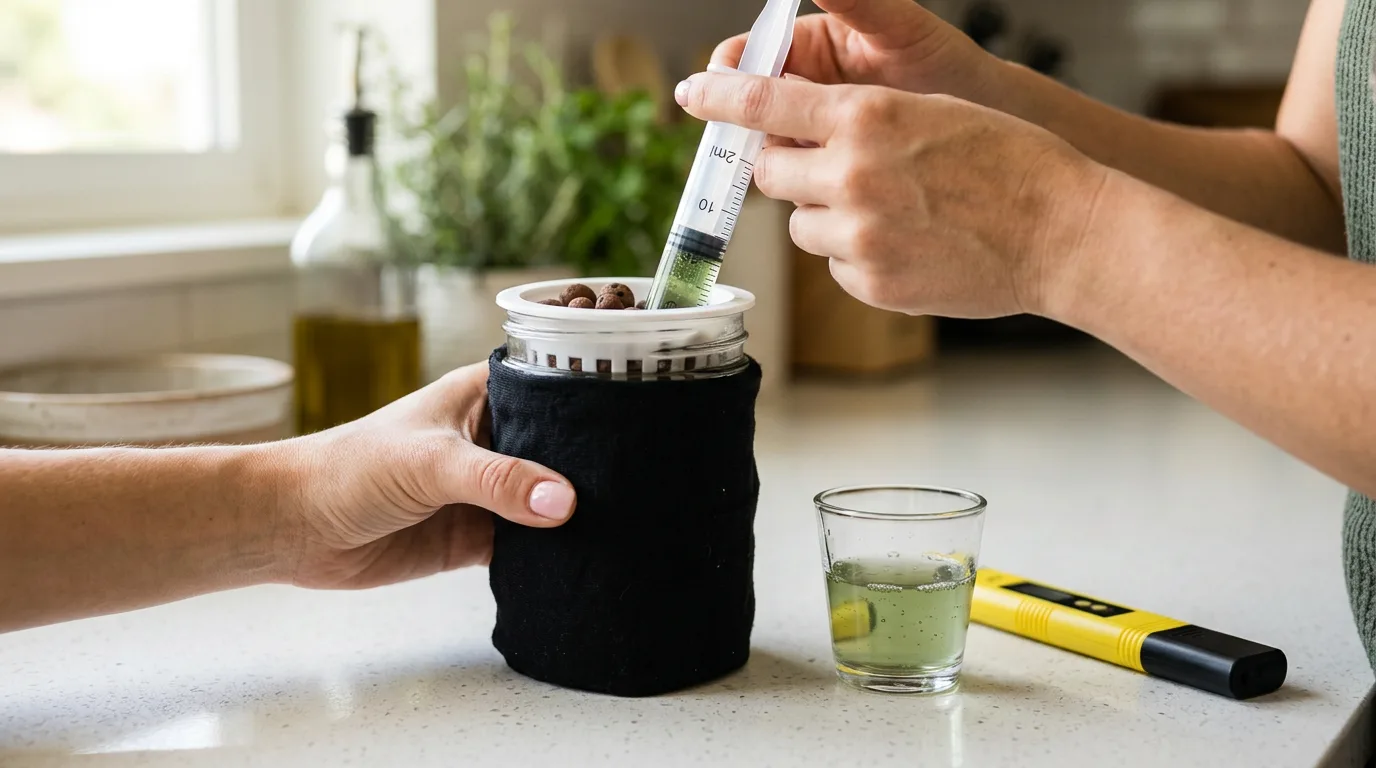
🥄 Gathering Your Water Sample
Avoid testing inside your main reservoir when possible. Dipping the pen into a tank full of roots risks snapping delicate root hairs. Instead, use a clean syringe or small measuring cup to pull a sample. Aim to extract about 2 to 3 ounces of water. Stir the sample gently with a clean spoon before testing. If you use the Kratky method vs DWC and opted for a passive jar, pulling a sample from the side of the jar works well.
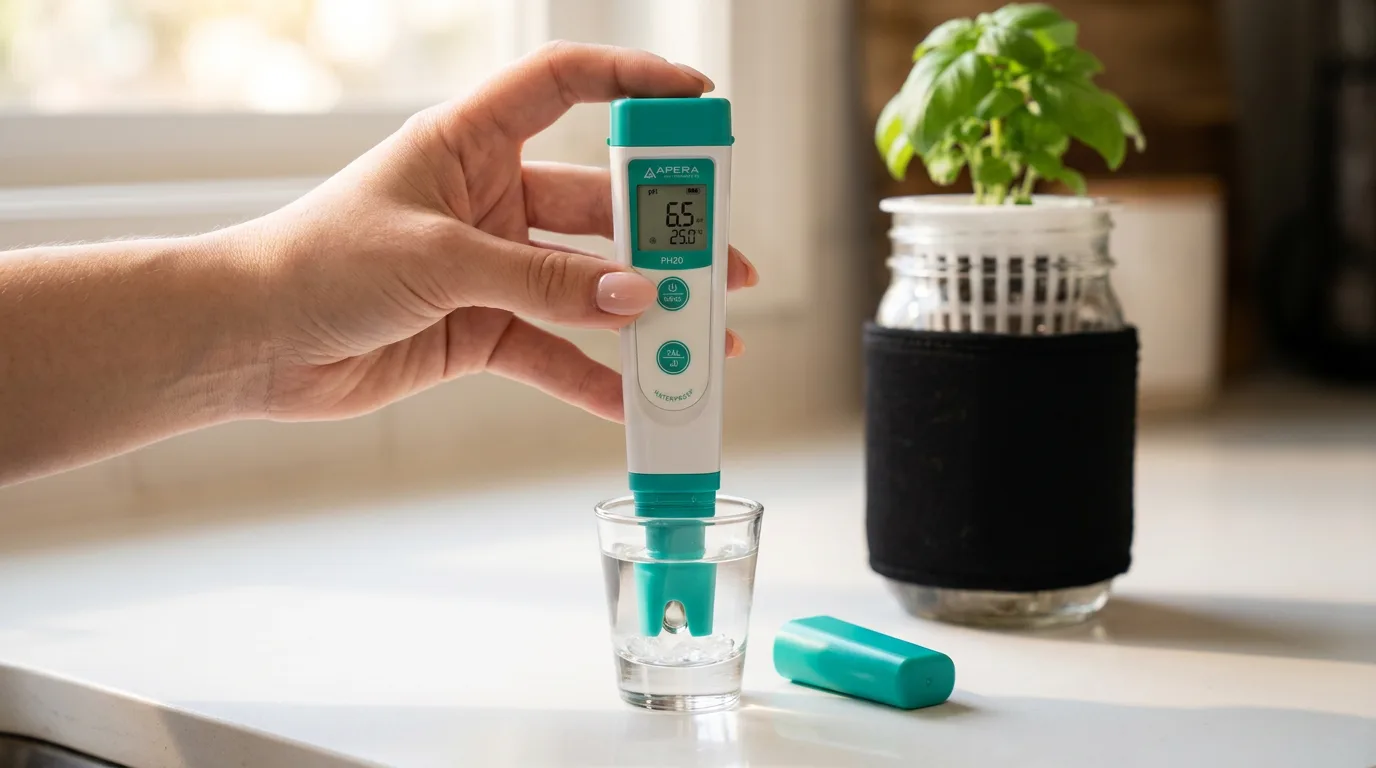
⏱️ Reading and Adjusting the Numbers
Turn on your meter and dip it into the sample cup. Hold the device steady and do not touch the bottom of the glass. Wait roughly 30 to 45 seconds for the digital reading to stabilise. Once the number stops moving, note the value. If the reading sits outside pH 5.5 to 6.5, you need to adjust. Add one single drop of pH Down or pH Up solution to your sample cup first to see how it reacts, then scale to your full reservoir. Use the free pH and nutrient calculator to find the exact adjustment dose for your reservoir size, which prevents the guesswork that leads to overcorrection. Always dilute chemical adjusters in a cup of fresh water before pouring into your main system. Food-grade phosphoric acid is standard, but citric acid is a milder alternative that drifts faster over a few days, so it is better for a single correction than ongoing use.
🩺 Fixing Common Testing Issues
Even the best pH meter for hydroponics beginners runs into occasional glitches. Digital sensors rely on delicate glass bulbs and tiny electrical currents. Dirt, dry air, or weak batteries can all throw off readings without warning. Most issues take under five minutes to fix. Cleaning the probe resolves erratic numbers in the majority of cases.
🔋 Dealing With Jumping Numbers
If the digits on your screen bounce from 4.0 up to 8.0 and will not settle, your probe is struggling to find a signal. This usually comes from static electricity, a dirty bulb, or low battery power. Step away from large electronics or running motors first, then work through this sequence:
- Remove the meter from the water and turn it off.
- Rinse the probe under lukewarm tap water for ten seconds.
- Check the battery compartment for moisture or corrosion.
- Replace the batteries if the device is older than six months.
🧽 Reviving a Dried-Out Sensor
If you leave the cap off, the glass bulb dries out and can no longer measure acidity accurately. A dry bulb gives sluggish, delayed readings where you wait several minutes for the number to settle. To fix it, fill a small cup with 3M KCL storage solution. Submerge the glass bulb and let it soak for 12 to 24 hours. This slow soak restores the sensitive coating on the glass. After soaking, recalibrate the device before testing your hydroponic lettuce reservoir or any other system.
| Symptom | Likely Cause | Quick Fix |
|---|---|---|
| Numbers jump rapidly | Dirty probe or low battery | Rinse probe, swap batteries |
| Reading stuck at 7.0 | Broken glass bulb | Replace the entire meter |
| Sluggish response time | Sensor dried out | Soak in KCL for 24 hours |
🫙 Storage and Maintenance Routine
A proper maintenance routine takes only a few drops of liquid and a few seconds of your time. Many beginners toss their pen into a drawer after use and wonder why they need a replacement every season. Just as learning how to prevent root rot in small hydroponic systems protects your plants, cleaning your pH meter protects your readings.
💦 Keeping the Bulb Hydrated
The protective cap on your Apera PH20 contains a small sponge. After every test, make sure that sponge is slightly damp. If it looks dry, add 3 to 5 drops of KCL storage solution onto the foam before replacing the cap. Never use plain tap water or distilled water to store your probe. Distilled water pulls ions out of the glass bulb and ruins it faster than leaving it dry. Always use the proper KCL storage fluid.
🗓️ Monthly Recalibration Steps
All digital sensors drift slightly over time. Perform a full calibration once a month to keep your readings accurate. Tying it to a fixed date, like the first Saturday of each month, keeps it from slipping. This monthly check also prevents stealthy water chemistry problems from building up unnoticed. Accurate water management keeps plants healthy and protects them from the slow pH crashes that trigger root problems before you even notice anything is wrong.
→ University of Minnesota Extension: Introduction to Home Hydroponics
→ University of Maryland Extension: Hydroponics for Home Gardeners
The Apera PH20 is the meter I use every week. Around $50, auto-calibration, ATC, waterproof, and runs for up to 2,000 hours on 4 AAA batteries.
💬 A Word From Sarah
The thing that surprised me most about pH testing was how different the same number could feel depending on when you checked it. I had a basil jar sitting at pH 6.2 on Monday morning, and by Friday it had drifted to 5.1 without me touching anything. The plant had consumed enough water to concentrate the remaining acids, and the reading dropped without a single adjustment on my part. I only caught it because I had gotten into the habit of checking every four days.
That experience taught me that the meter itself is not the point. The point is the routine. A great device sitting unused in a drawer does nothing. Once I tied my pH checks to the same days I top off the water, every three to four days just before I add fresh liquid, the numbers stopped surprising me. If you build the check into an existing habit, it takes less than two minutes and you will never lose a plant to a silent pH crash again.
- You grow regularly and want the most accurate daily readings → Apera PH20. Around $50, ±0.1 accuracy, holds calibration for weeks, fully waterproof.
- You want a digital meter that also reads EC and temp on a budget → KETOTEK pH + EC + Temp Meter. $16.99, covers all three readings in one pen.
- Budget is tight and you want to try hydroponics first → General Hydroponics pH Test Kit. Under $14, 4.7 stars, colour-based but accurate enough to protect your plants.
- You already own a generic yellow pen → Use it for now but plan to upgrade. Yellow pens drift fast and typically need replacing within a few months of regular use.
❓ Frequently Asked Questions
🌿 Which herb should I start with for easy pH balancing?
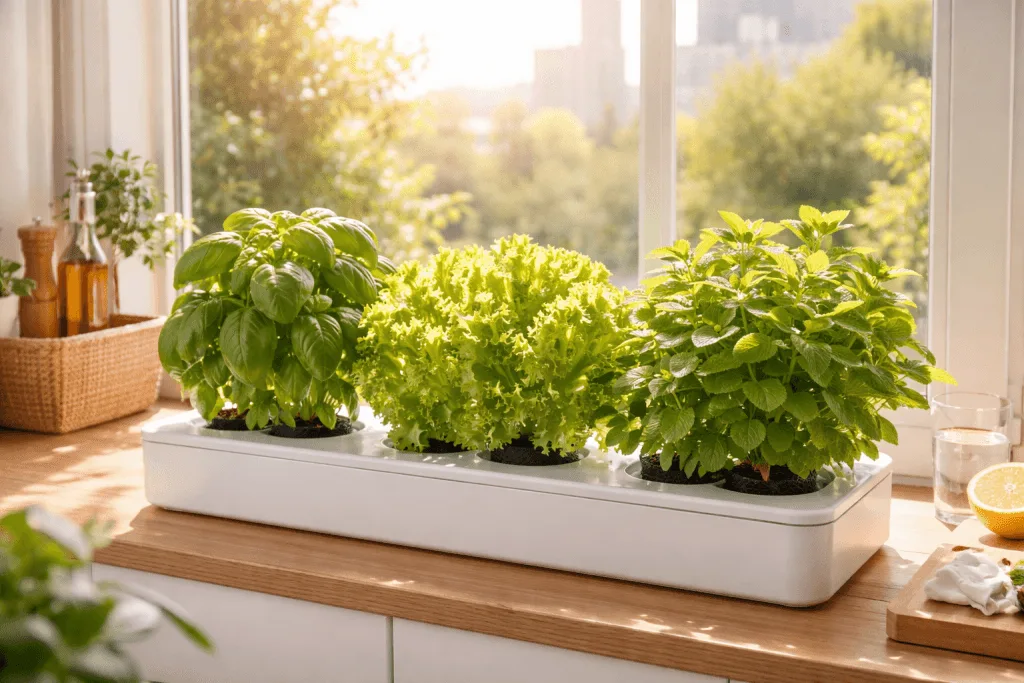
Basil is the most forgiving herb for beginners learning water chemistry. It tolerates slight swings in acidity while you build your testing routine. Start with basil, master your reservoir balance, then move on to more sensitive plants like cilantro once you are comfortable. Basil also gives fast visual feedback when something is wrong, which makes it a great teaching plant.
💦 Do I need to test water every single day?
No. Daily testing is overkill for small apartment systems. Checking your reservoir every 3 to 5 days provides plenty of warning if things start to drift. Only increase to daily checks if you recently changed the entire water supply or added a new nutrient mix, since those events shift the pH the most.
🌡️ Does water temperature affect my pH reading?
Yes. Water temperature alters chemical acidity readings. The best pH meter for hydroponics beginners includes Automatic Temperature Compensation (ATC), which handles the math internally so you always get a stable, reliable number regardless of reservoir temperature. This matters most in summer when tap water warms fast.
🧪 Can I use vinegar to lower my water acidity?
You can use white vinegar in an emergency, but it is not suitable for regular use. Vinegar breaks down in the reservoir, causing acidity to drift back up within 24 to 48 hours. Always use a dedicated hydroponic pH Down product for stable, lasting adjustments. Citric acid is a gentler alternative to phosphoric acid but still more stable than vinegar.
🫙 How do I test a sealed Kratky jar?
Gently lift the net cup out by about an inch. Slide a clean syringe into the gap to pull a small water sample. Test the sample in a separate cup, adjust if needed, and pour it carefully back into the jar without disturbing the roots. The Kratky lettuce jar guide walks through the full setup if you need a refresher on how the system works.
🧯 What happens if I drop the device in the reservoir?
Most quality testers like the Apera PH20 are waterproof and will float. Pull it out, rinse it with clean tap water, and wipe the plastic casing dry. Never press any buttons while the device is fully submerged, and let the casing dry before storing it with the cap on. Check the battery compartment for moisture before your next use.
⏲️ Why does my meter need calibration so often?
The glass sensor loses sensitivity as it interacts with nutrient salts over time. Calibrating once a month resets its baseline. Generic yellow pens drift faster because their internal components lack proper insulation against minor electrical interference from nearby equipment like grow lights or air pumps.
💧 Can I grow without a pH meter at all?
The General Hydroponics pH Test Kit is a proven low-cost alternative, rated 4.7 stars from over 30,000 reviews. Fill a test tube halfway with nutrient solution, add 3 drops of indicator, and match the colour to the chart. Accurate to about ±0.5, which is enough to catch major problems. Start with a drop kit if budget is tight, then upgrade to a digital meter once you are hooked on growing.
Happy growing! 🌿
— Sarah, Urban Hydro Space

Sarah is the founder of Urban Hydro Space and an indoor gardening enthusiast dedicated to helping apartment dwellers grow fresh herbs and vegetables in small spaces. With hands-on experience testing hydroponic systems, she shares practical tips and honest product reviews to make indoor gardening accessible for beginners.