⏳ 14 min read · Last updated: March 2026
Learning how to clean a small hydroponic system properly keeps your apartment garden thriving without destroying your kitchen in the process. I learned this the hard way. My first countertop unit sat in my cramped galley kitchen for over three months without a proper cleanout. My basil wilted and a swampy smell filled my living space. Once I figured out a fast, no-mess maintenance habit, the whole indoor growing experience changed completely.
🧽 Preparing to Clean Small Hydroponic System Gear
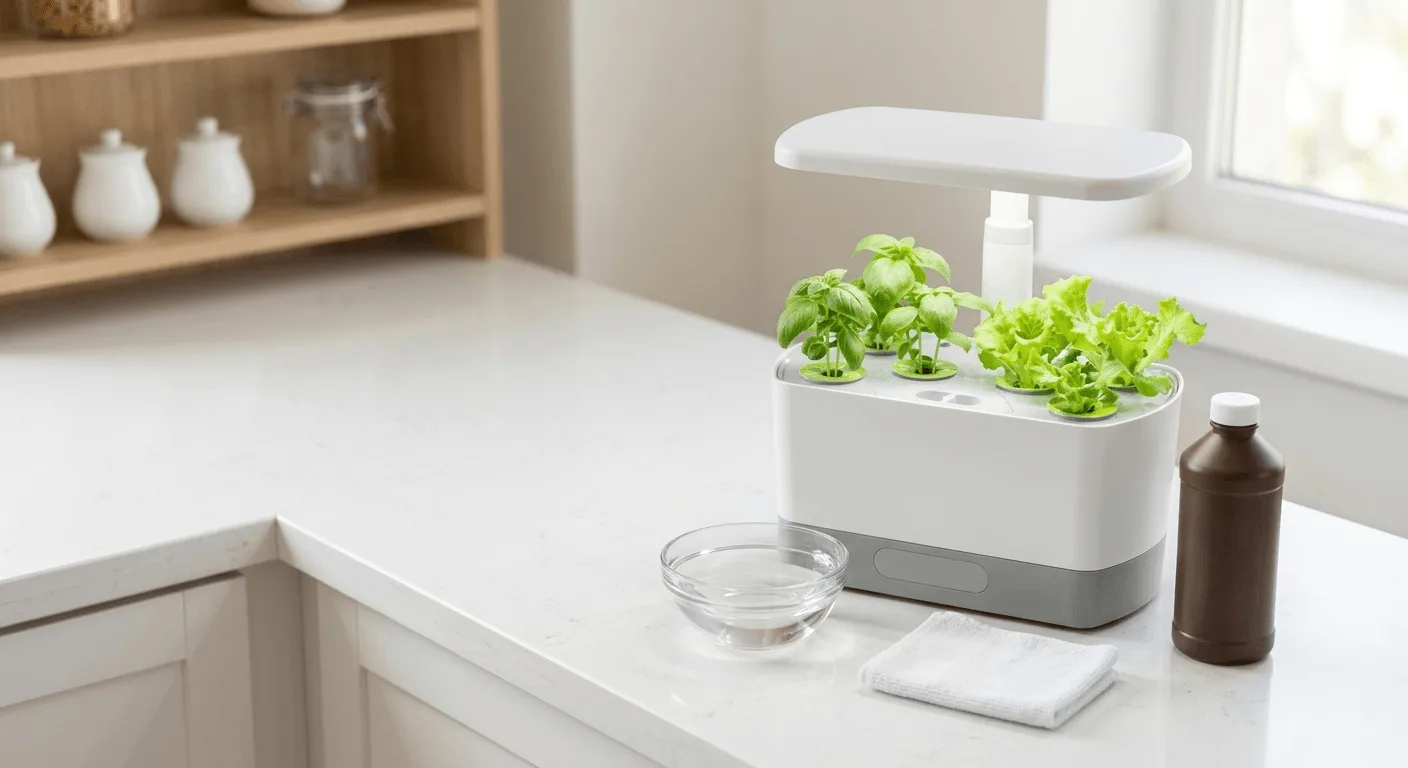
Setting up your workspace before you start is the step most beginners skip, and it is the one that prevents the most mess. Lay a thick towel next to your sink before touching anything. Gather all your supplies in one spot so you are not walking dripping plant parts across the living room. That five-minute setup saves twenty minutes of mopping up afterward.
- Flush your reservoir every 7 to 14 days to prevent dangerous mineral salt buildup.
- Use mild 3% hydrogen peroxide instead of harsh industrial cleaners indoors.
- Keep plant roots damp in a bowl of pH-adjusted water for the 15 to 20 minutes they sit outside the tank.
- Never let roots dry out while you scrub the reservoir walls.
- New to cleaning and not sure where to start → read Why Clean Regularly first
- Ready to do a full cleanout → jump to Step-by-Step Guide
- Have a Kratky jar setup → go to Kratky Mason Jars
- Dealing with algae or root rot → skip to Troubleshooting
- Preparing to Clean Small Hydroponic System Gear
- Why You Must Clean Your Reservoirs Regularly
- Gathering Apartment-Friendly Cleaning Supplies
- Step by Step: How to Clean a Small Hydroponic System
- The Low-Mess Method for Kratky Mason Jars
- Resetting Air Stones and Small Pumps Safely
- Troubleshooting Stubborn Hydroponic Grime
- A Word From Sarah
- Frequently Asked Questions
💧 Protecting Your Kitchen Counters and Floors
Old nutrient solution often leaves chalky white rings on dark granite countertops. Placing a silicone baking mat under your workstation offers solid protection. A clean plastic trash bag works well in a pinch if you lack a mat. Wrapping the base of your unit in a rag also stops tiny drips from traveling down the power cord before you notice them.
🌊 Managing Old Water Disposal Safely
Dumping a reservoir full of dead leaves and root debris down a tiny kitchen drain invites plumbing trouble. Pour your used nutrient water directly into the toilet bowl instead. Toilets handle organic matter easily, you avoid splashing dirty water onto clean dishes, and flushing removes any lingering smell from your living area immediately.
🧫 Why You Must Clean Your Reservoirs Regularly
It is tempting to just top off the water and walk away. When you skip maintenance though, unseen problems multiply fast. Stagnant water becomes a breeding ground for organic matter, your apartment starts smelling like a humid swamp, and what started as a minor issue becomes a complete crop failure. Regular scrubbing prevents all of that.
🍃 The Hidden Danger of Algae and Biofilm
Algae thrives wherever bright light meets nutrient-rich water, so it often blooms aggressively around the edges of the plastic grow deck. This green slime competes directly with your herbs for dissolved oxygen in the tank. Over time, algae dies off and creates a slippery layer known as biofilm, which coats the interior walls and slowly chokes the mechanical equipment. Biofilm also houses harmful bacteria that consume oxygen and break down organic matter.
If left uncorrected, your roots become stressed and the plant declines rapidly. Wiping it early takes only a few seconds. The UF IFAS Extension guide on indoor hydroponic setups notes that algae control is one of the most important factors in maintaining a healthy small system.
🧂 How Nutrient Buildup Chokes Delicate Roots
Liquid fertilizers leave behind mineral salts as water evaporates. You might notice crusty white rings forming near the top water line of your tank. These salts alter the chemical balance of your reservoir over time and eventually lead to nutrient lockout, where your plants starve because they can no longer absorb food through their root hairs.
Monitor your feed strength closely every few days. If you see the meter reading jump to EC 2.5 or higher, it is time for a flush. Flushing clears out the old salts and gives your roots a fresh start. Penn State Extension’s guide on hydroponic nutrition principles explains why EC management is central to root health in small reservoirs.
🧰 Gathering Apartment-Friendly Cleaning Supplies
You do not need harsh industrial chemicals to maintain your indoor garden. Heavy-duty products create messy, dangerous accidents indoors and rarely clean plastic any better than gentle alternatives. Using gentle tools also protects the delicate plastic parts from permanent scratches.
⚗️ Hydrogen Peroxide Versus Traditional Bleach
Many commercial greenhouse growers use diluted bleach for sanitation. While it works well for sterilizing hard plastics, it requires heavy rinsing and produces strong fumes that linger for hours in a poorly ventilated apartment. I rely on mild 3% hydrogen peroxide for almost everything. Peroxide breaks down naturally into plain water and oxygen, leaving no toxic residue. You can wipe down the reservoir with it safely without opening every window first.
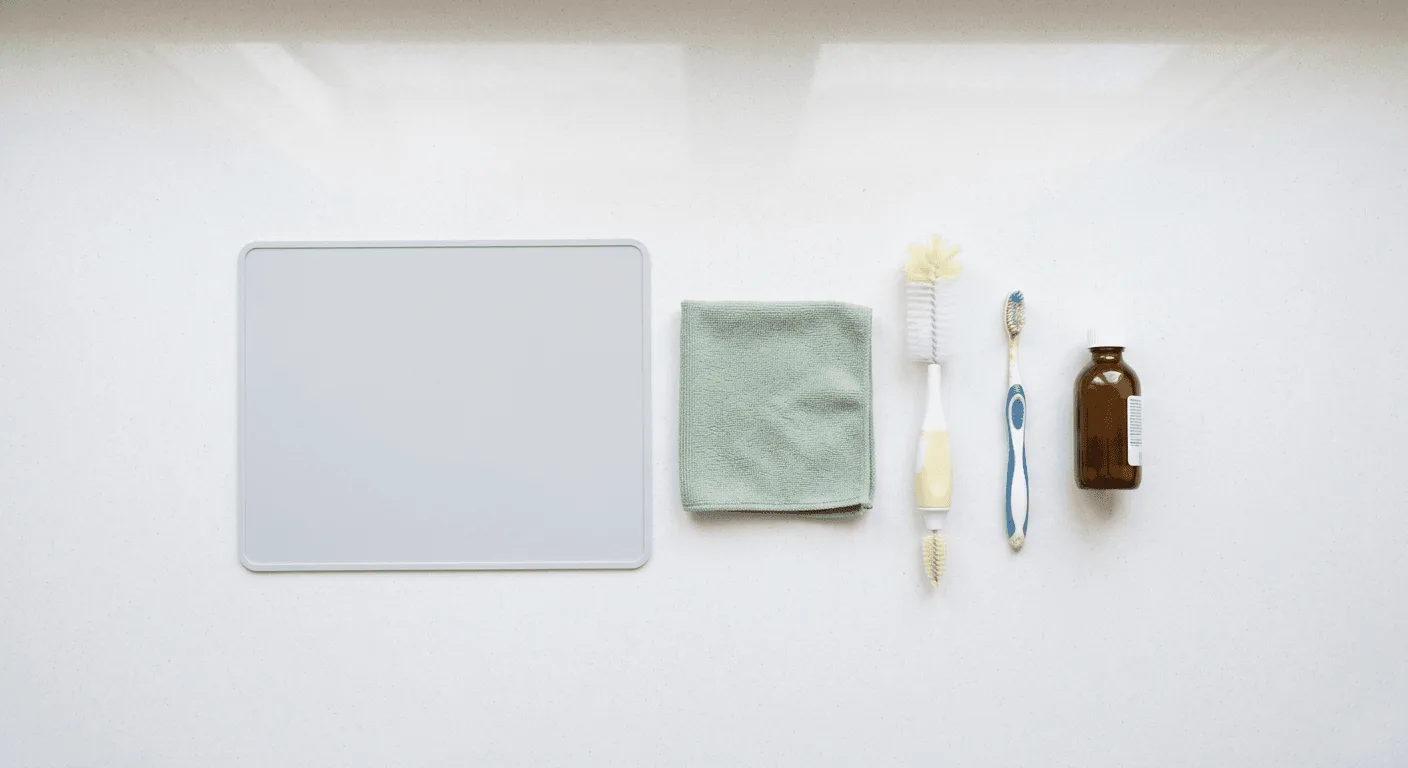
🪣 Essential Scrubbing Tools for Tiny Sinks
Stiff, bulky brushes splatter dirty water everywhere. Gather soft tools that maneuver well in tight corners instead. Microfiber cloths trap loose algae effortlessly without scratching clear reservoir walls. A soft-bristled baby bottle brush reaches down into deep corners where roots often tangle up. An old toothbrush handles the intricate grow deck slots. These three tools cover everything and all fit in a small drawer.
| Cleaning Tool | Best Used For |
|---|---|
| Microfiber Cloth | Wiping exterior surfaces and soft green biofilm |
| Soft Bottle Brush | Reaching deep reservoir corners safely |
| Old Toothbrush | Scrubbing grow deck slots and pump housing |
🚰 Step by Step: How to Clean a Small Hydroponic System
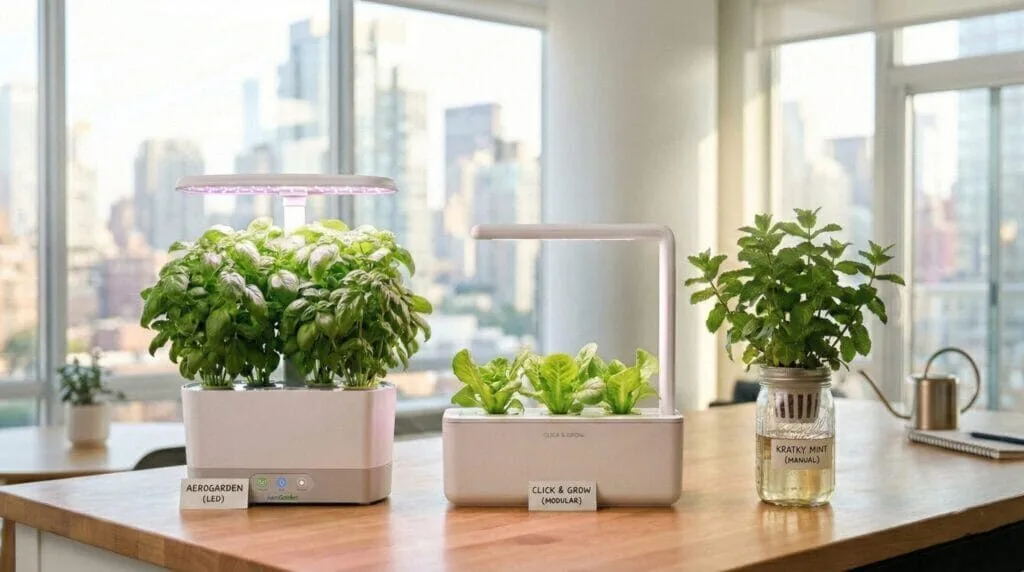
Popular countertop units look intimidating to dismantle at first glance, but the process is straightforward once you know the order. The key is managing the live plants carefully while you work. If you plan ahead, the entire cleanout takes under twenty minutes.
🪴 Safely Removing and Storing Your Plants
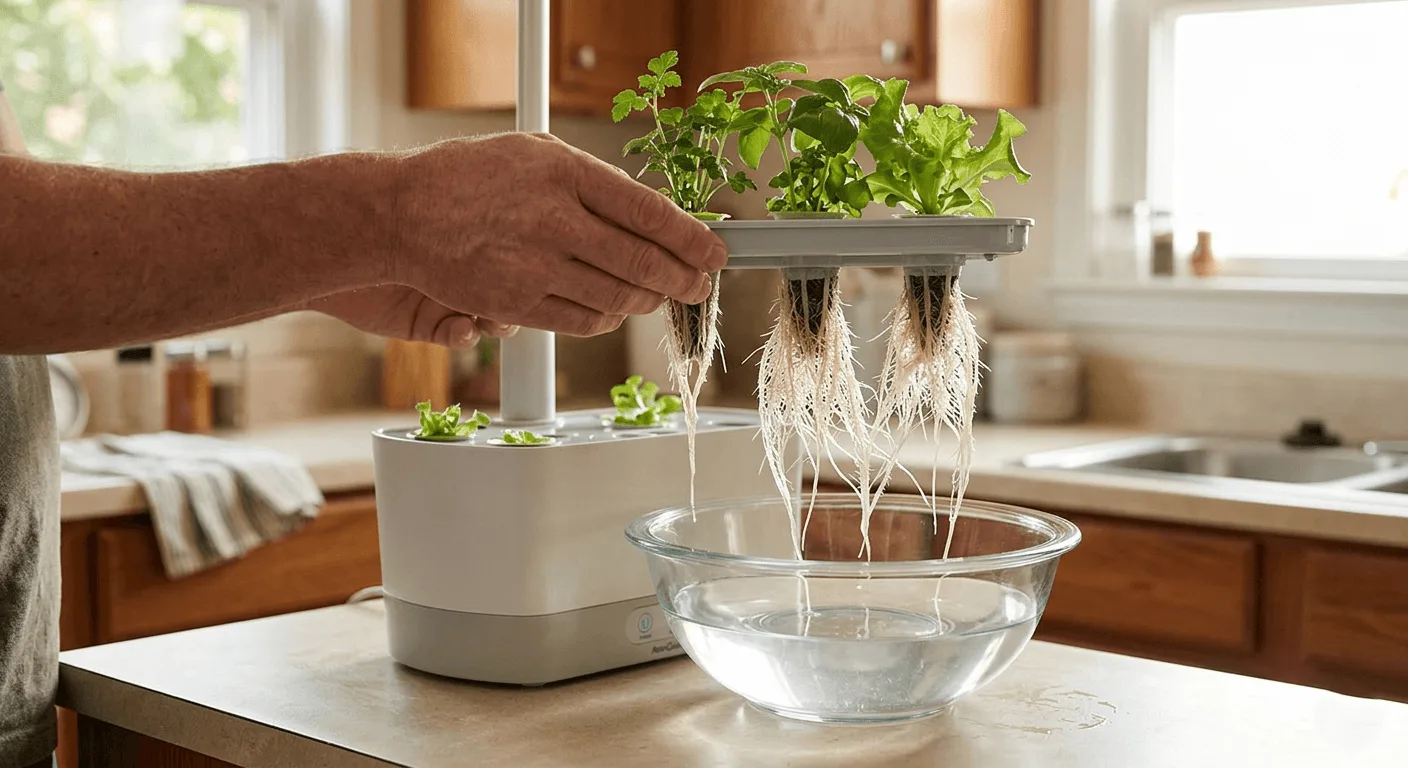
Before you empty the tank, prepare a large mixing bowl nearby. Fill it with plain tap water adjusted to pH 5.5 to 6.5. Carefully lift the entire grow deck straight off the base reservoir, then gently rest the root mass into the prepared bowl on your counter. The roots must stay fully submerged while you work to prevent shock.
If roots get stuck in the plastic housing, tease them out slowly. Never rip the roots by pulling forcefully on the main stem. Preserving the tiny root hairs ensures growth continues uninterrupted after the cleanout.
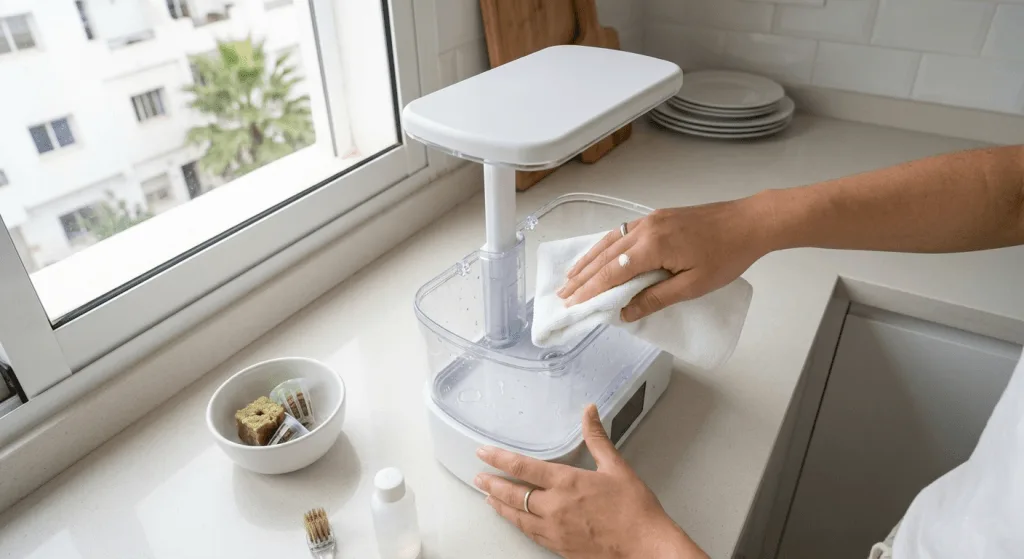
💣 Scrubbing the Reservoir
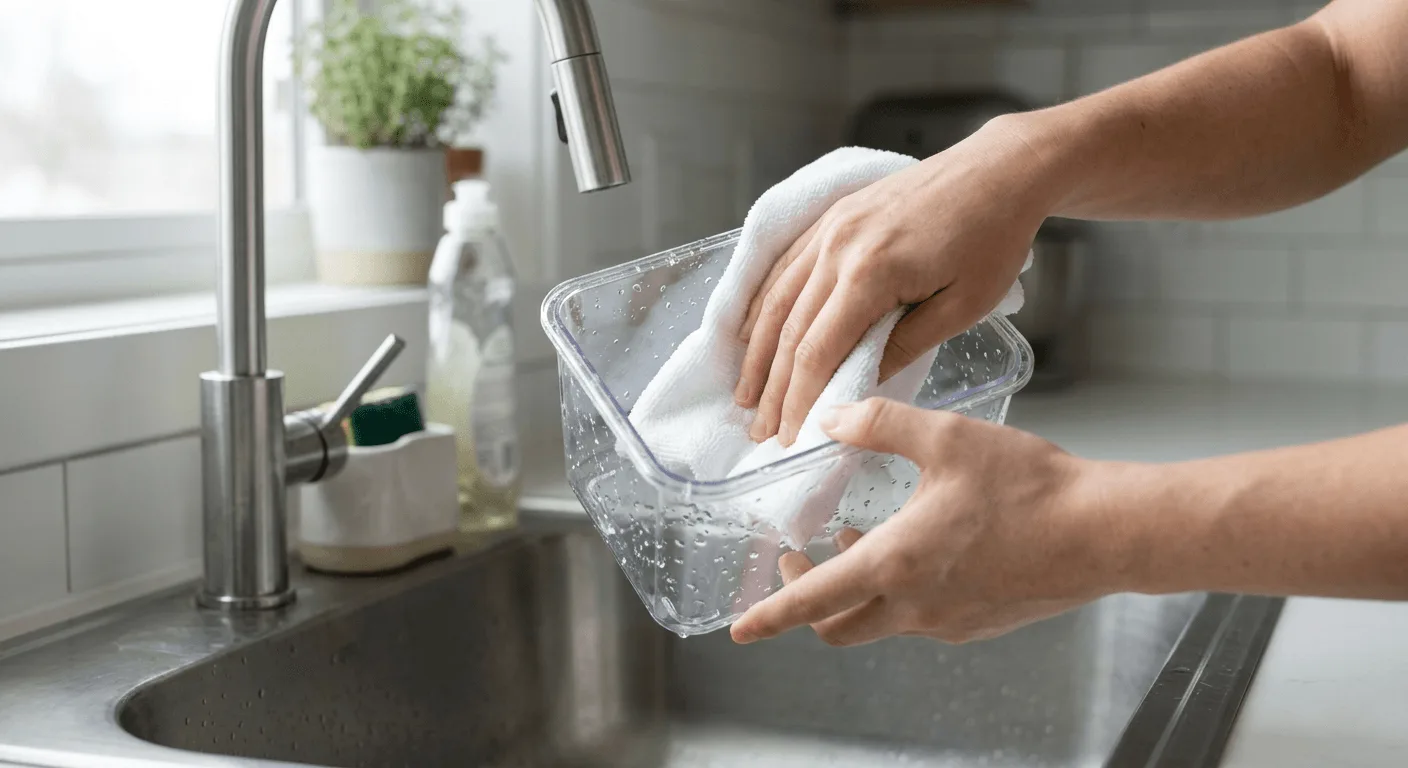
Carry the empty tank to your sink or toilet. Dump old nutrient water into the toilet to prevent sink clogs, then rinse the plastic tank with warm, clean tap water. Apply your hydrogen peroxide and wipe the interior with your soft microfiber cloth. For hard water stains, scrub gently using the long bottle brush. Pay close attention to the water level sensor if your unit has one.
Rinse the tank three times to ensure no loose organic debris remains. Refill with fresh nutrients at the correct EC for whatever you are growing, return the grow deck, and reposition your grow lights to the standard 12 to 18 inches above the canopy.
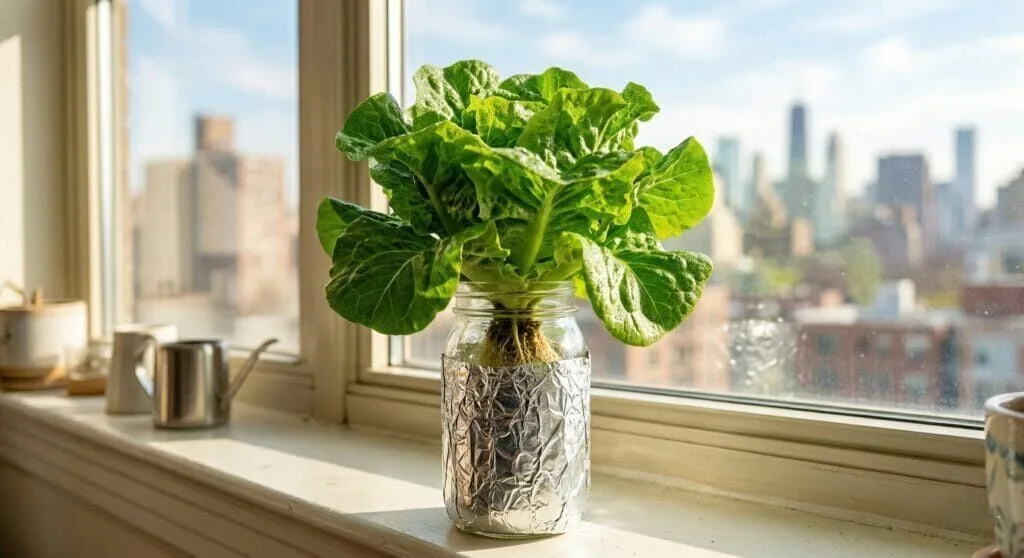
🫙 The Low-Mess Method for Kratky Mason Jars
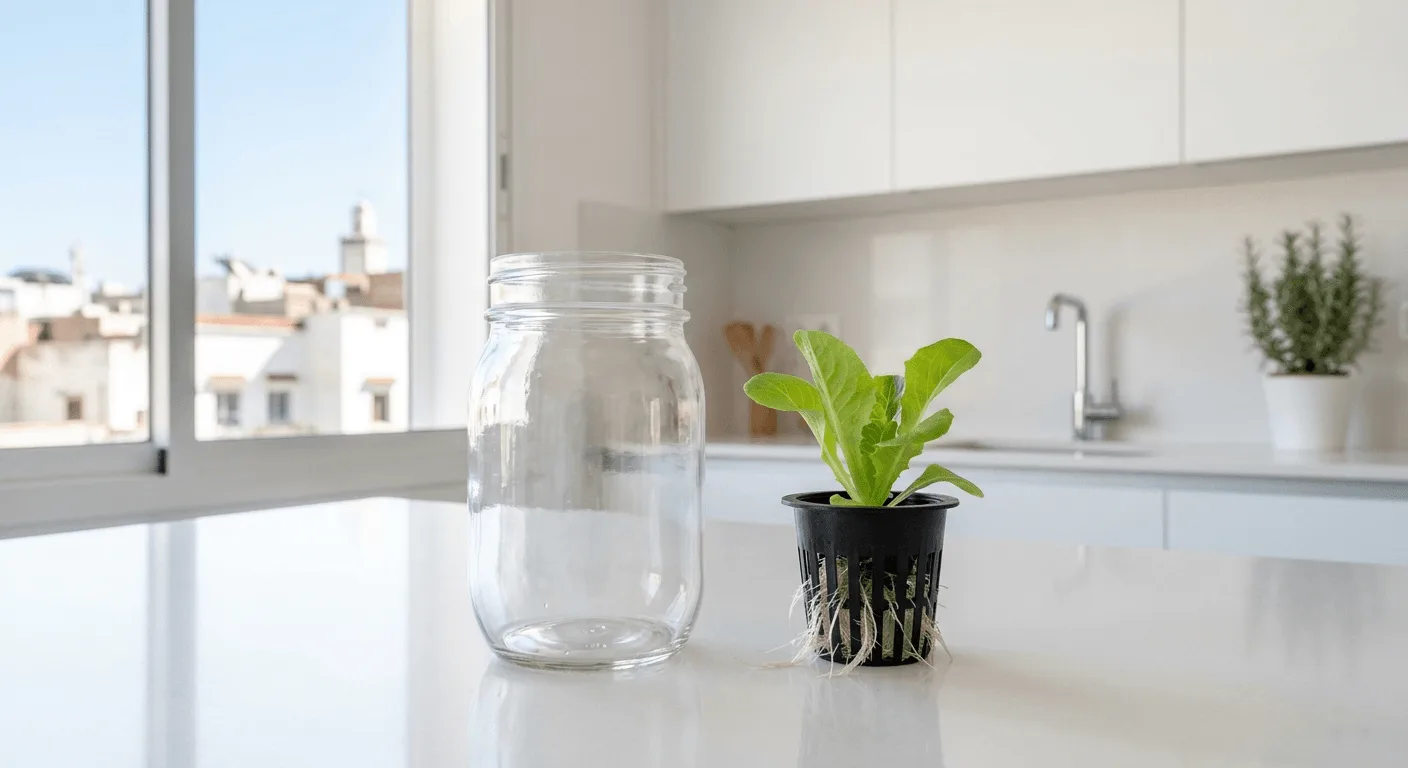
Passive systems require significantly less daily maintenance. Still, you need to scrub glass setups between crop cycles. Clear jars collect algae extremely fast if they are not properly covered, and washing thick glass is easy once the plant is out.
🧊 Sanitizing Glass Without Breaking It
When you empty the old jar into the sink, do it carefully. Wash immediately with hot water and mild dish soap, using your bottle brush to remove any stubborn algae rings near the top rim. For full sterilization before the next seed, a hot water and peroxide soak works well if you do not have a dishwasher.
Let the jar cool to room temperature before adding fresh nutrient solution. Sudden temperature changes can crack thick glass. Waiting ten minutes prevents messy accidents.
🌿 Managing Fragile Roots During the Jar Swap
Kratky roots develop fine, fuzzy air roots that are exceptionally fragile. Lift the plastic net cup straight up out of the old jar and keep the damp root bundle compact as you move it. Lower the plant immediately into the freshly prepared clean jar. Ensure the new water line matches the old water level exactly. Too high drowns the critical air roots. Too low and the plant droops within hours.
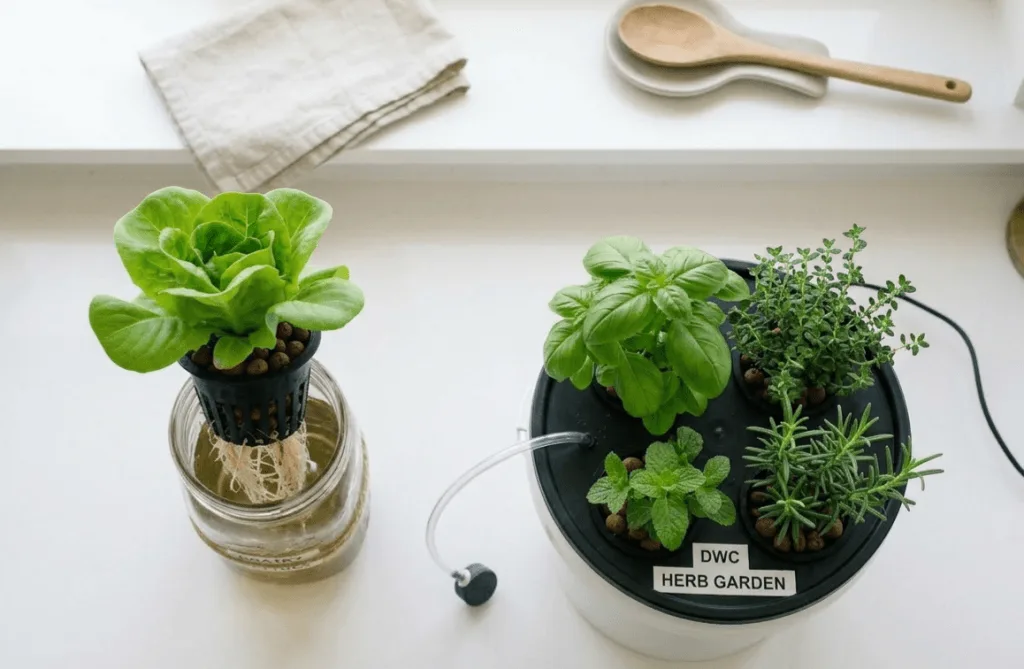
🔧 Resetting Air Stones and Small Pumps Safely
Moving water keeps roots healthy, but the submerged hardware gets dirty over time. Mineral deposits slowly clog air stones, reducing the oxygen supply. Stray plant debris jams tiny internal water impellers. Maintaining these parts extends their lifespan significantly and prevents burnt-out motors.
🪨 Unclogging Mineral Deposits from Stones
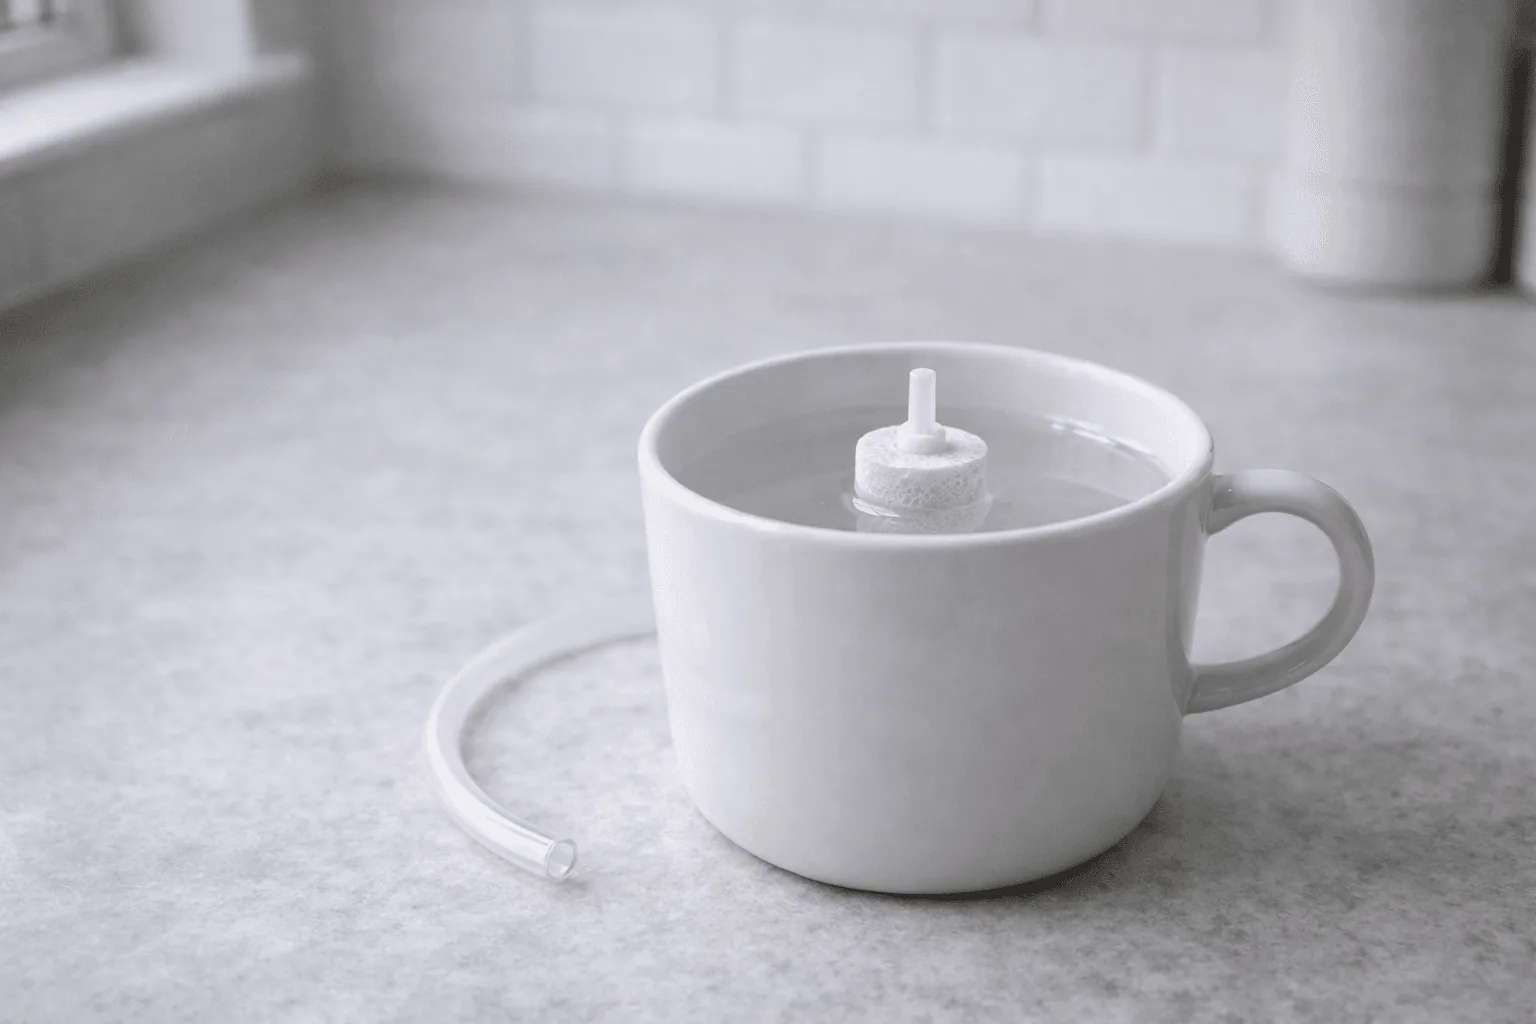
Air stones gather crusty white minerals at the bottom of DWC totes and the vigorous air output drops to a trickle over time. Pull the stone from the silicone airline tubing, scrub the outside lightly with a toothbrush to dislodge loose scale, then drop it into a small cup of plain white vinegar. Let it soak for 20 to 30 minutes. The mild acid dissolves the hard calcium buildup safely. Rinse under cold tap water for five minutes before putting it back in the tank.
🔇 Keeping Your Water Pump Quiet and Debris-Free
Countertop water pumps are prone to sucking up stray roots. When that blockage happens, the motor strains and becomes noisy. Detach the water pump cover from the base unit, pull out the small magnetic impeller using clean tweezers, and wipe away the slimy brown residue with a damp cotton swab. Reassemble and test it in a bowl of plain water to confirm it runs silently before putting everything back. For more on reducing pump noise in a small apartment, see the full guide to quieting a noisy hydroponic pump.
🚨 Troubleshooting Stubborn Hydroponic Grime
Sometimes routine wiping is not enough. You might encounter stubborn stains or root conditions that need extra attention. Inspecting plant health while you clean is the best way to catch problems early before they become crop failures.
🔍 What to Do If Algae Will Not Budge
Avoid abrasive sponges. They scratch plastic and create grooves where bacteria hide. Instead, mix a thick paste of baking soda and water and apply it directly to the stained area. Let it sit for ten minutes. The mild grit lifts stubborn algae without damaging the reservoir walls. Wipe clean with a wet cloth.
If your tank keeps turning green quickly, the water is getting too much light. Wrapping the tank in dark paper or a lightproof sleeve blocks the algae trigger at the source and is far more effective than cleaning alone.
🩹 Rescuing Plants With Early Root Rot Symptoms
Healthy roots look bright white or pale tan. Brown, slimy roots during a water change need immediate action. Follow these steps if you spot root rot during your cleanout:
- Remove the affected plant and rest it safely in a sterile bowl.
- Rinse the root mass gently under lukewarm running water to dislodge the slime.
- Sterilize the entire reservoir and pump with diluted hydrogen peroxide.
- Refill the tank with a fresh, pH-balanced nutrient solution.
Consider adding a specialized beneficial bacteria supplement to protect the fresh roots. This creates a shield against future fungal infections. For a full walkthrough of prevention, read how to prevent root rot in small hydroponic systems. For the best nutrients to use after a cleanout, see the best hydroponic nutrients for small systems.
📚 Read next
→ Penn State Extension: Hydroponic Systems and Nutrition Principles
→ UMass Amherst: Cleaning and Disinfecting Greenhouse Systems
💬 A Word From Sarah
I ruined my favorite indoor mint plant last winter by ignoring my own advice. I kept topping off the reservoir with fertilizer instead of doing a proper water change. Within a month, the mineral salts built up so badly that the meter hit EC 2.8. The mint leaves curled, turned brown, and dropped off. I had to dump the entire tank, scrub away the thick crust, and reset everything to EC 1.8. The next batch bounced back within five days. It was a hard lesson, but it taught me that routine water changes are never optional if you want a thriving garden.
❓ Frequently Asked Questions
⏱️ How often do I need to deep clean my hydroponic system?
For most small countertop units, a full water change and thorough wipe down every 7 to 14 days is ideal. If you are using simple Kratky jars, wait until the crop finishes before sanitizing the glass. Small DWC totes can go 3 to 4 weeks between deep cleans as long as you are topping off with plain pH-adjusted water in between and monitoring EC closely.
🌿 Can I use white vinegar to clean the plastic reservoir?
Yes, plain white vinegar is excellent for dissolving hard water stains on plastic parts and unclogging air stones. Rinse it very thoroughly afterward though. Lingering vinegar will drop the pH of your new nutrient solution significantly, which will stress your plants before they have had a chance to recover from the cleanout.
🧼 Is dish soap safe for hydroponic components?
Mild dish soap works well for empty glass jars or completely detached plastic parts. Rinse every single bubble away before reassembling. Even tiny amounts of soap residue can harm delicate plant roots and disrupt the surface tension of the nutrient solution. When in doubt, a second and third rinse takes 30 seconds and is always worth the extra step.
🔌 What do I do if roots are tangled in the pump?
Turn the power off immediately to prevent motor damage. Gently tease the wet roots out using your fingers or soft tweezers. To prevent it happening again, place a small mesh bag or root guard around the pump intake to block stray growth before it reaches the impeller. Most hardware or aquarium stores carry small mesh filter bags that fit standard pump intakes.
🌡️ Can I put my countertop reservoir in the dishwasher?
Check the manufacturer manual first. Most thin plastic reservoirs warp badly under the high heat of a dishwasher cycle, especially if they contain any electronics or sensors. Hand washing with warm water is always the safer choice. If you want to sterilize properly, a 20-minute hydrogen peroxide soak followed by three cold water rinses is more thorough than most dishwasher cycles anyway.
🌾 Do I need to clean the top grow deck too?
Yes. Floating dust and nutrient splashes collect on the top deck and invite mold and fungus gnats. Wipe the top surface weekly with a damp microfiber cloth. This easy habit keeps pests and fungi away from your stems. If you notice any white fuzzy growth on the deck slots, clean immediately with a diluted hydrogen peroxide solution and improve airflow around the system.
🧪 What pH and EC should I target after refilling the reservoir?
After a cleanout, mix fresh solution and target a pH of 5.5 to 6.5 for most herbs and leafy greens. EC depends on the crop and growth stage. Lettuce does well at 0.8 to 1.2 mS/cm, herbs like basil prefer 1.6 to 2.2 mS/cm at maturity. Always measure both before returning the plants to the tank. Starting a fresh reservoir is the perfect moment to correct any drift that built up in the previous cycle.
Happy growing! 🌿
— Sarah, Urban Hydro Space

Sarah is the founder of Urban Hydro Space and an indoor gardening enthusiast dedicated to helping apartment dwellers grow fresh herbs and vegetables in small spaces. With hands-on experience testing hydroponic systems, she shares practical tips and honest product reviews to make indoor gardening accessible for beginners.