⏳ 15 min read · Last updated: March 2026
Disclosure: This post contains affiliate links. If you purchase through these links, I may earn a small commission at no extra cost to you. Thank you for supporting Urban Hydro Space!
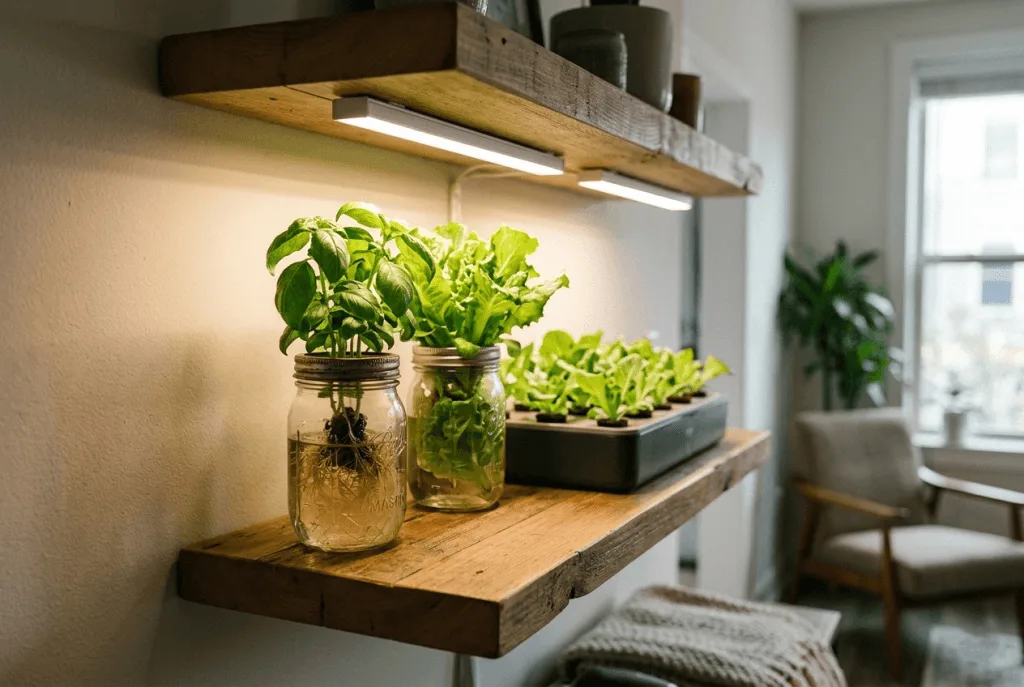
For many apartment dwellers, getting the apartment hydroponic light schedule right while working a 9-to-5 job feels like a juggling act. You want your plants to thrive, but you are not home all day to switch lights on and off. When I first started growing basil in a tiny one-bedroom apartment, my windowsill Kratky setup was not cutting it. My plants looked sickly and spindly, even after I finally sorted out my pH problem. Honestly, when I started with my iDOO system I made the mistake of thinking any light would do. I quickly learned that consistent light, not just any light, was non-negotiable for healthy growth.
🌿 Why a Consistent Light Schedule Is Your Plants’ Best Friend
Just like humans need a consistent sleep schedule to function, your hydroponic plants rely heavily on a regular light and dark cycle. This is not just about providing energy. It is about mimicking nature’s rhythm. Plants use light for photosynthesis, converting light energy into the chemical energy they need to grow. Without enough light, or with an inconsistent schedule, your plants become stressed. They might stretch out, looking leggy and weak, trying to reach for more light. This is called etiolation.
On the other hand, too much light can also be detrimental, leading to light burn or nutrient lockout, even if your pH is perfectly balanced between 5.5 and 6.5. The key is balance and consistency, which is exactly what a good apartment hydroponic light schedule provides.
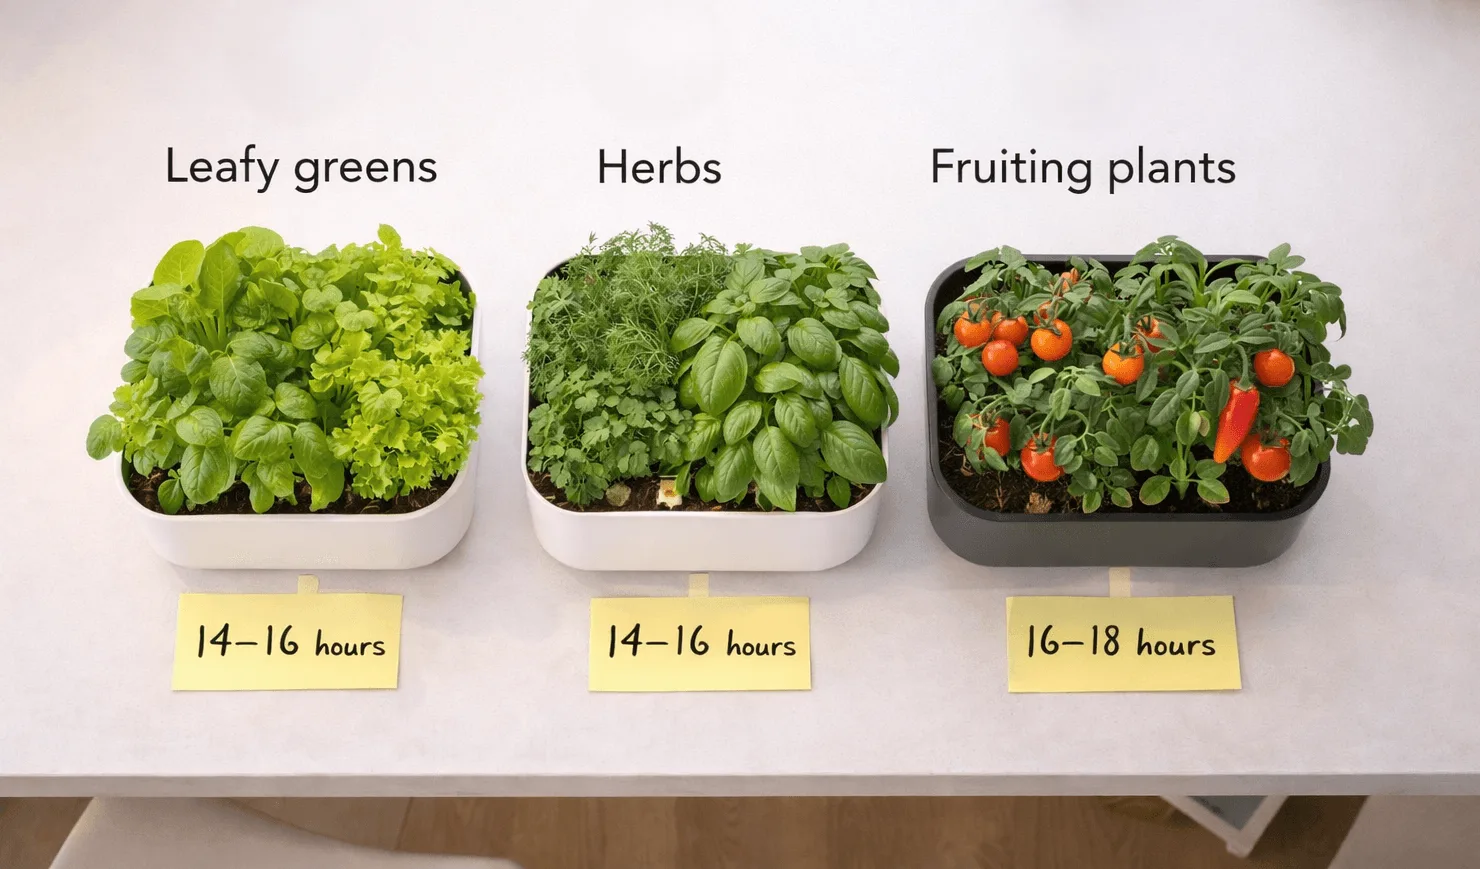
- Aim for a consistent 14 to 16 hour light cycle for leafy greens and herbs.
- Ensure a vital 8 to 10 hour dark period for plant respiration and growth regulation.
- Use an automatic timer to maintain your hydroponic light timer settings reliably, even when you are away.
- Position your grow lights 12 to 18 inches from the plant canopy for optimal intensity.
- Target a PPFD of 150 to 250 µmol/m²/s for leafy greens and 200 to 400 µmol/m²/s for herbs at canopy level.
- Just starting out and need a plug-and-play schedule → jump to The 9-to-5 Solution
- Want to understand why light cycles matter → read Understanding Light Cycles
- Plants are stretching or burning → skip to Common Lighting Mistakes
- Need help choosing a grow light → go to Choosing Grow Lights
- Why a Consistent Light Schedule Is Your Plants’ Best Friend
- Understanding Hydroponic Light Cycles for Healthy Growth
- Setting Up Your Perfect 9-to-5 Hydroponic Light Schedule
- Choosing the Right Grow Lights for Apartment Hydroponics
- Avoiding Common Hydroponic Lighting Mistakes
- A Word From Sarah
- Frequently Asked Questions
💡 The Science Behind Photosynthesis and Photoperiodism
Plants do not just like light. They literally eat it. Photosynthesis is the process where plants use light energy, water, and carbon dioxide to create glucose and oxygen. This sugar fuels all growth from roots to leaves. The University of Minnesota Extension provides an excellent overview of how light affects plant growth and development beyond just energy production.
Beyond basic photosynthesis, plants also exhibit photoperiodism, which is their physiological response to the length of day or night. For leafy greens and herbs, maintaining a consistent long day period with a shorter night tells them to focus on vegetative growth, producing those lush leaves you want. Fruiting plants can be more sensitive, sometimes needing specific light cycles to trigger flowering.
⏰ The Importance of the Dark Period
While light gets all the glory, the dark period is equally vital. During the dark hours, plants undergo respiration, using the sugars produced during photosynthesis for metabolic activities, repair, and overall structural development. This is also when they transport nutrients and convert starches. Skipping the dark period leads to plant stress, stunted growth, and abnormal development.
🌞 Understanding Hydroponic Light Cycles for Healthy Growth
Before you set your timer, it is important to understand the typical light cycles for the plants you are growing. Most apartment hydroponic setups focus on leafy greens and herbs, which are generally long-day plants that prefer more hours of light. However, even these plants need a break.
🌿 Ideal Light Duration and PPFD Targets for Common Hydroponic Plants
Here is a full reference for what you will likely be growing. The PPFD column (Photosynthetic Photon Flux Density) tells you the light intensity your plants actually need at canopy level. Think of it as the brightness dose. Hours tell your plants when to wake up and sleep. PPFD tells them how hard to work while they are awake.
| Plant Type | Daily Light Hours | Dark Period | Target PPFD | Notes |
|---|---|---|---|---|
| Leafy Greens Lettuce, Spinach, Kale |
14 to 16 hrs | 8 to 10 hrs | 150 to 250 µmol/m²/s | Fast growth; full harvest every 3 to 4 weeks |
| Herbs Basil, Mint, Cilantro, Parsley |
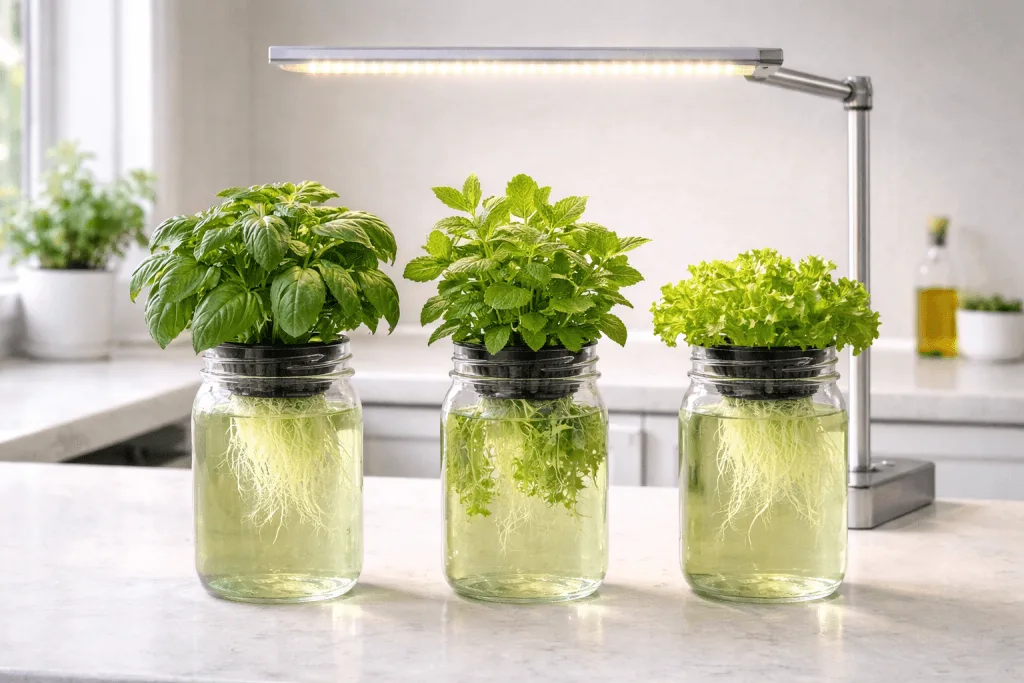
14 to 16 hrs | 8 to 10 hrs | 200 to 400 µmol/m²/s | Basil needs higher intensity than mint for strong aroma |
| Fruiting Plants Cherry Tomatoes, Strawberries, Peppers |
16 to 18 hrs | 6 to 8 hrs | 400 to 600 µmol/m²/s | Need higher intensity; distinct dark period triggers fruiting |
These recommendations have worked well for my year-round lettuce, basil, mint, spinach, and cherry tomato harvests in my apartment. Sticking to this 14 to 16 hour cycle for leafy greens has consistently given me full lettuce harvests every 3 to 4 weeks in a studio apartment since 2023. If you want a step-by-step plan for lettuce, see my beginner guide to growing hydroponic lettuce in a countertop system.
🔄 The Role of Dark Cycles in Your Hydroponic Light Timer Settings
The remaining hours in a 24-hour cycle should be dedicated to darkness. So if you are providing 16 hours of light, your plants need 8 hours of uninterrupted darkness. This is non-negotiable. The dark period is not simply off-time. It is an active part of the plant’s metabolic process, regulating everything from nutrient uptake to flower initiation.
Think of it as the plant’s digestion and rest period. Without it, they cannot properly process what they have taken in during the light cycle. My early mistake of assuming more light is always better almost killed off a full batch of basil before I understood why darkness matters as much as light.
⏰ Setting Up Your Perfect 9-to-5 Hydroponic Light Schedule
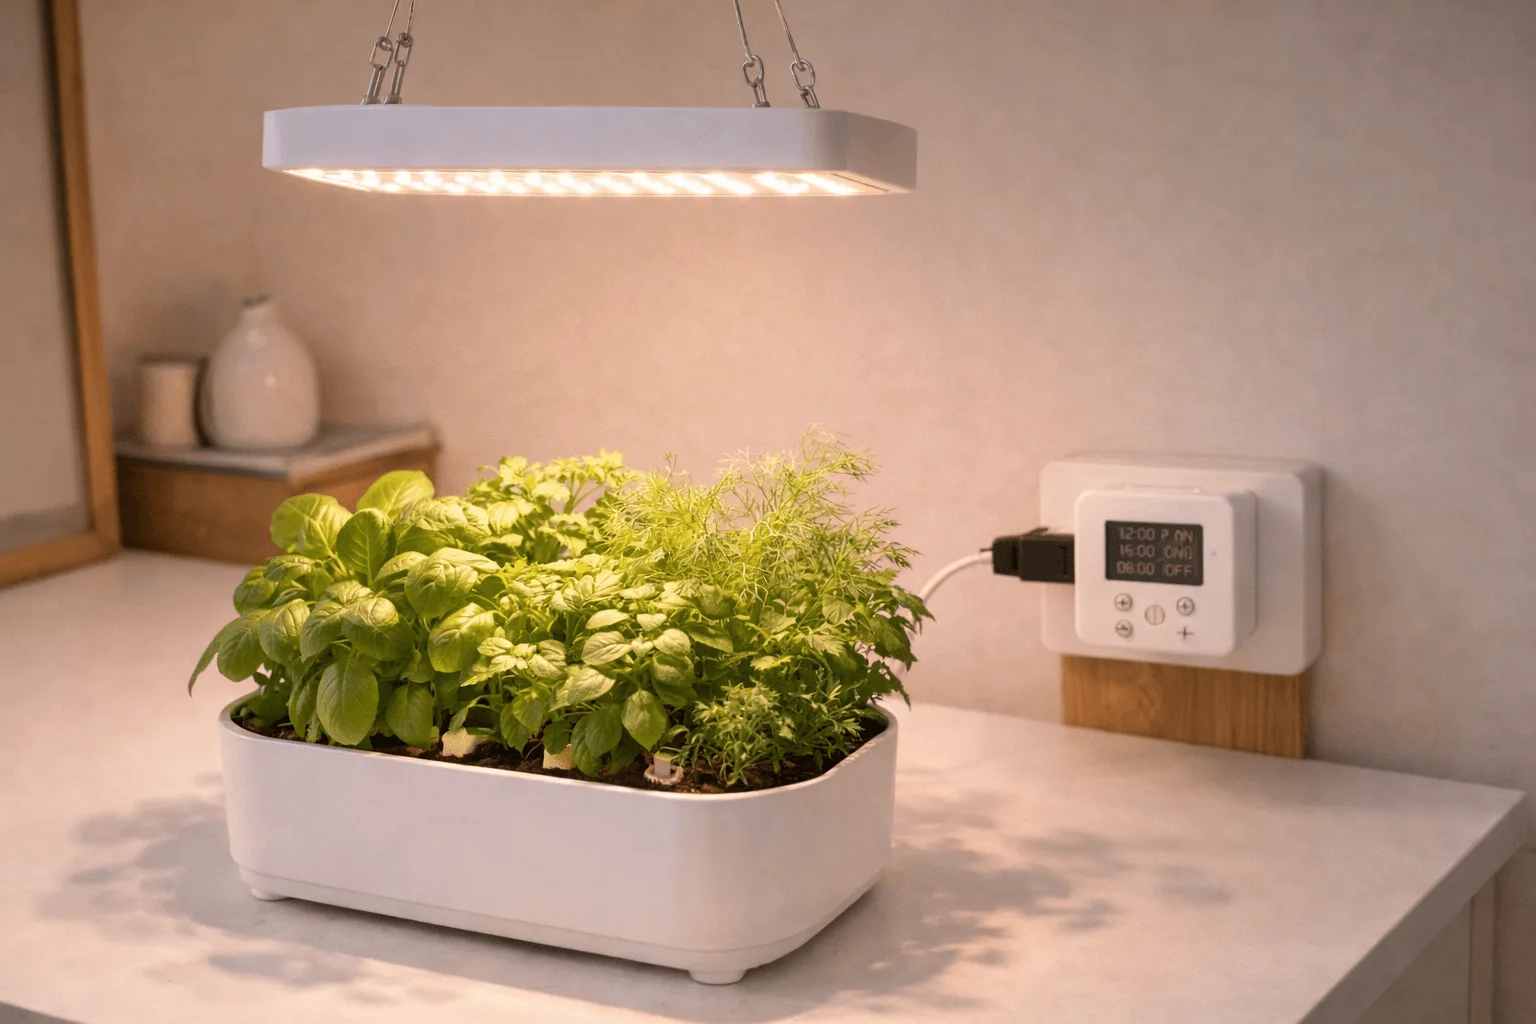
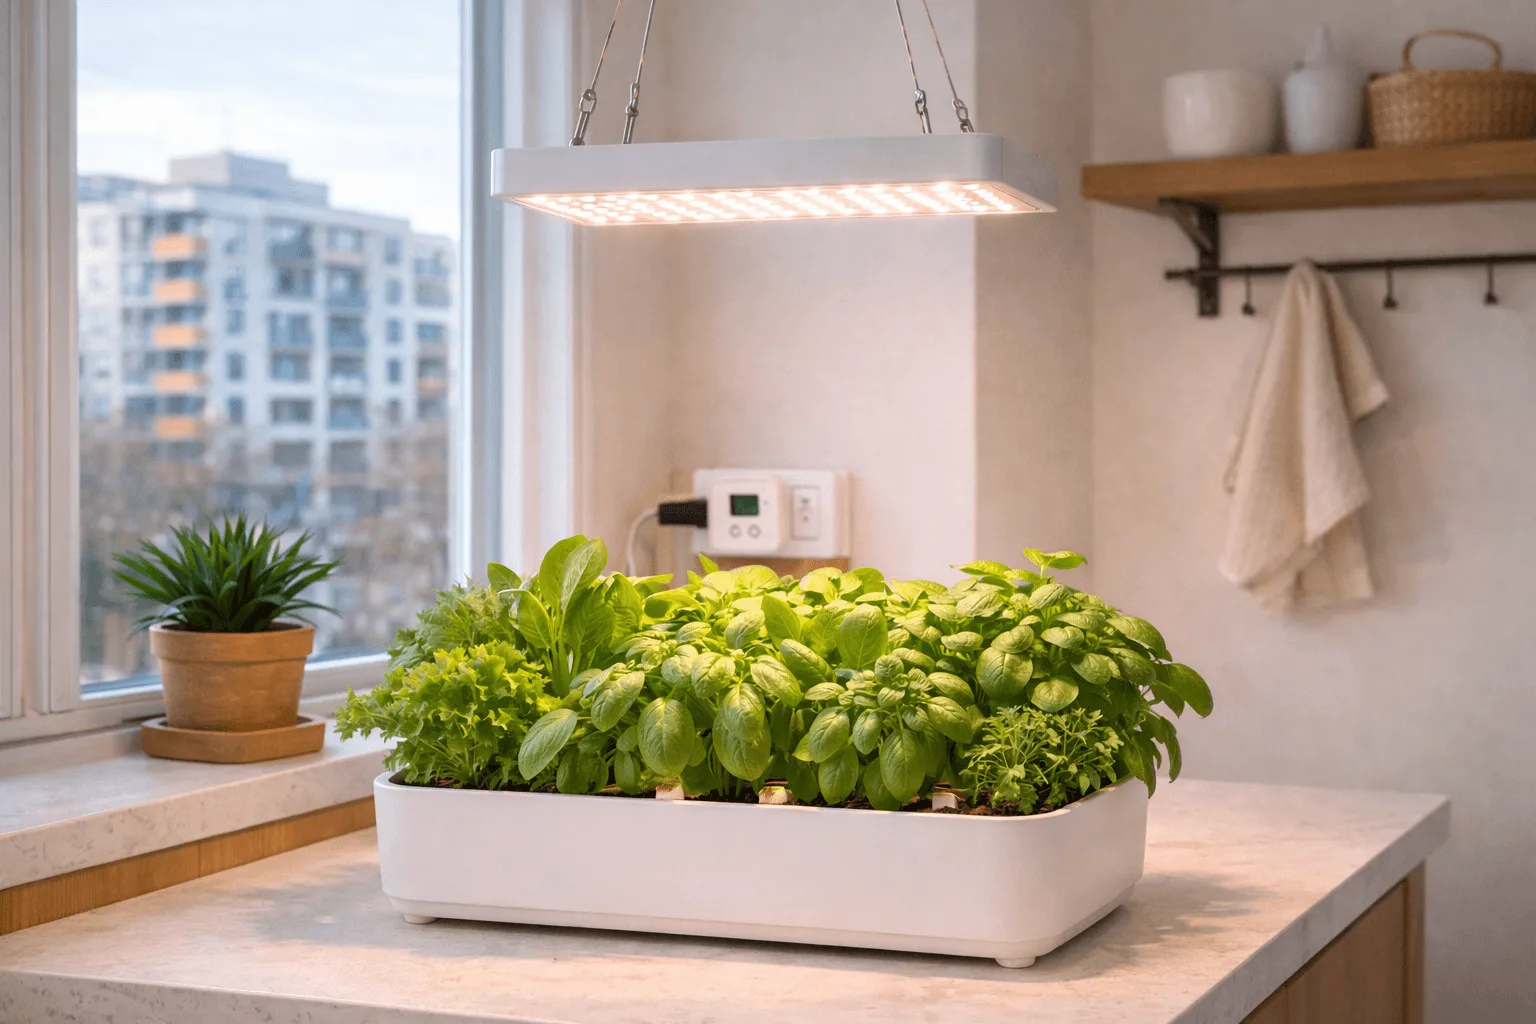
This is where the magic happens for busy professionals. The goal is to set an automatic schedule that works seamlessly with your routine, ensuring your plants get consistent light without you having to lift a finger. The easiest way to achieve this is with a simple grow light timer.
🔌 Choosing and Using a Grow Light Timer for Your Apartment Setup
There are two main types of timers:
- Mechanical Timers: Inexpensive and straightforward. You push down pins or turn a dial for the on periods. They are reliable but do not offer much flexibility beyond the basic schedule. A solid budget pick like the BN-LINK 7-day mechanical timer runs around $10 and handles most apartment LED grow lights without a problem.
- Digital Timers / Smart Plugs: These offer more precision and are usually controlled via an app on your phone. This means you can adjust your hydroponic light timer settings even when you are not home, which is a real advantage for a 9-to-5 schedule. I personally use the Kasa EP25 smart plug on all my systems. It is about $15, connects to Wi-Fi, and I have never had a reliability issue with it in over two years of daily use.
Whichever you choose, make sure it is rated for the wattage of your grow lights. Most LED grow lights for apartment setups are low-wattage, so both options handle them easily.
🗓️ A Sample Apartment Hydroponic Light Schedule for the 9-to-5 Worker
Here is a plug-and-play schedule that works well for herbs and leafy greens:
- Lights On: 6:00 AM 🌞 (Your plants start their day before you even leave for work.)
- Lights Off: 10:00 PM 🌙 (Your plants get their full 16 hours and wind down while you are relaxing.)
This schedule provides a consistent 16 hours of light and 8 hours of darkness. It requires zero manual intervention. This is what I have used for my lettuce, basil, and mint for years.
Dark Period (8 hrs)
🌱 Adjusting Your Hydroponic Light Schedule by Plant Type and Growth Stage
For fruiting plants like cherry tomatoes or strawberries, extend the light cycle to 17 or 18 hours. For example, 6:00 AM to midnight works well. The extra light energy fuels fruit production. Just remember that even at 18 hours of light, you must protect that dark period. Never push beyond 18 hours.
If you are growing a mix of plants, you have two options. Run everything on one 16-hour schedule and accept that fruiting plants will grow a bit slower. Or run a slightly longer schedule like 17 hours that better suits the fruiting plants while still keeping herbs and greens happy.
For seedlings, keep the same 14 to 16 hour light schedule but soften the intensity. Start with the light 18 to 24 inches above the canopy, or use a dimmer if your light offers one. Once the first true leaves appear and the seedlings look sturdy rather than stretched, gradually lower the light to the standard 12 to 18 inch distance over a week.
❄️ Seasonal Tweaks to Your Apartment Hydroponic Light Schedule
If you live in a place with darker winters or short days, your apartment will naturally feel dimmer. In winter I like to make two small adjustments. First, I extend my light schedule by 1 hour, for example from 6:00 AM to 10:00 PM extended to 6:00 AM to 11:00 PM, especially for leafy greens and herbs. Second, I sometimes drop the light 2 to 3 inches closer to the canopy as long as the leaves are not showing any stress.
In summer, when rooms are brighter and warmer, I bring the schedule back to a standard 16 hours and watch water temperature more closely. Warmer rooms can push your reservoir temperature up, which affects oxygen levels in the root zone.
💡 Choosing the Right Grow Lights for Apartment Hydroponics
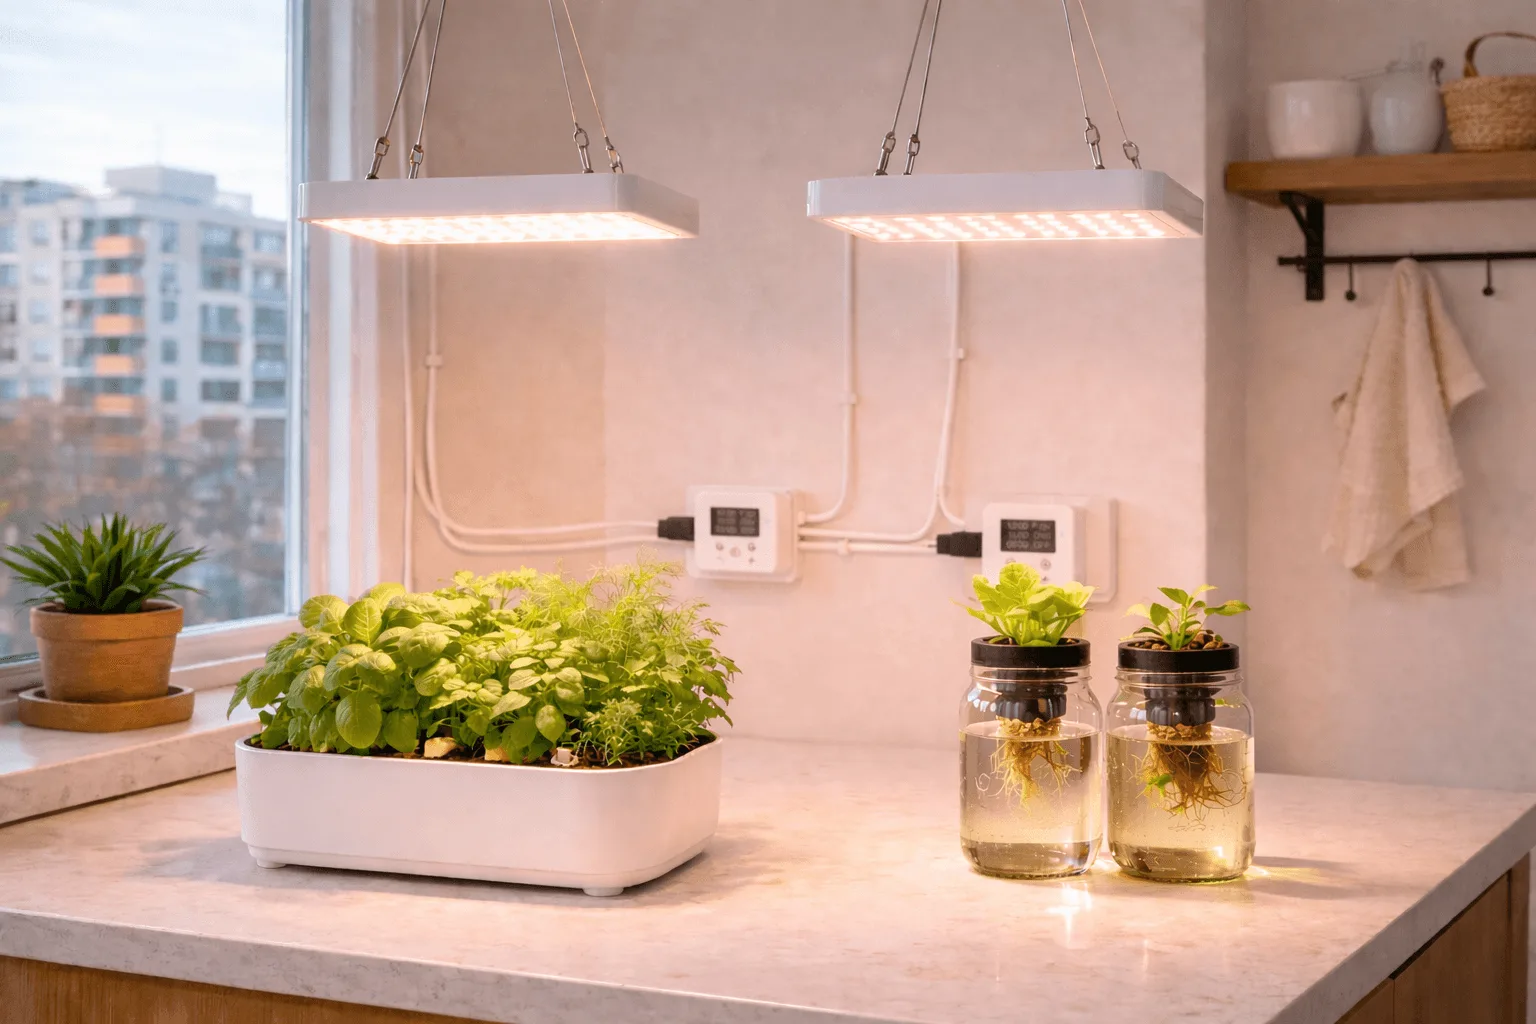
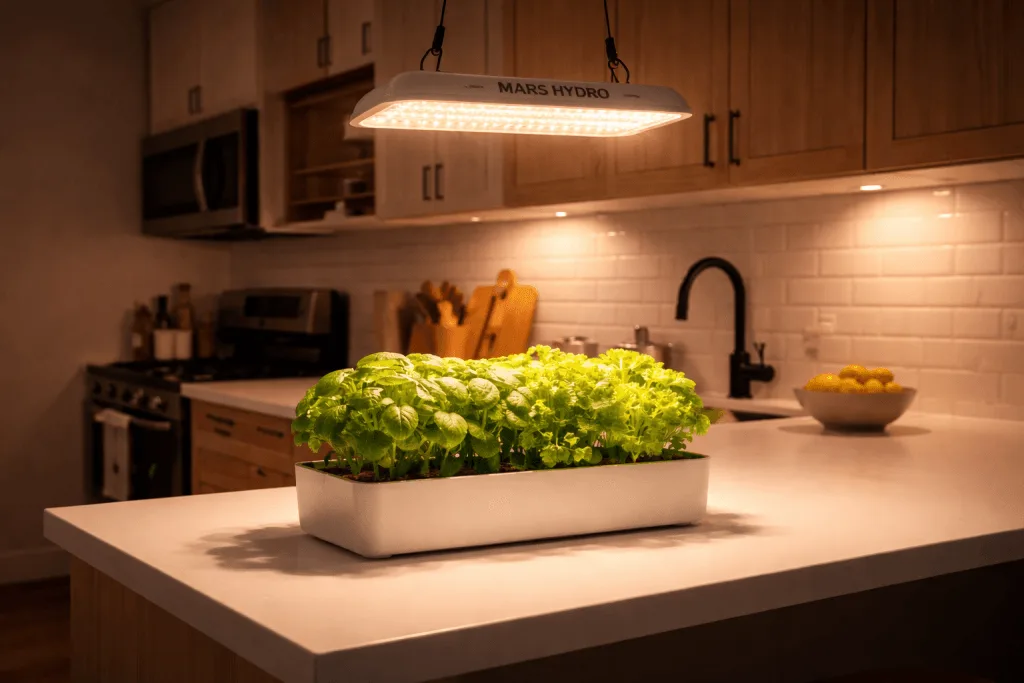
Setting a schedule is only part of the equation. Having the right light source is just as important. For apartment dwellers and beginners, LED grow lights are almost always the best choice. They are energy-efficient, produce less heat, and come in compact sizes perfect for small spaces.
🌈 Full-Spectrum Light Intensity for Apartment Hydroponics
You want a full-spectrum LED grow light, which emits light across the entire visible spectrum, mimicking natural sunlight. This helps your plants at every stage from seedlings to harvest. I have shared some of my favorites in this guide to quiet and compact LED grow lights.
Intensity is just as important as spectrum. A good rule of thumb for LED grow lights is to keep them about 12 to 18 inches above your plant canopy. For my DWC systems, I adjust the light height every week as the plants grow to maintain this distance. The USDA National Agricultural Library offers good resources on hydroponic systems and their lighting requirements.
🧪 How Light, Nutrients, and pH Work Together
Even with a perfect apartment hydroponic light schedule, your plants will not thrive without proper nutrition. Light helps them make food, but nutrients are the building blocks. If you are seeing yellowing leaves or stalled growth even after dialing in your hours and light distance, it might be a nutrient deficiency or pH issue.
That is why I always recommend pairing a good light schedule with a simple nutrient routine. If you want a straightforward feeding plan tailored for small apartment systems, my beginner hydroponic nutrients guide walks through the exact EC ranges and change frequency I use myself. For a breakdown of specific nutrient brands, check out my best hydroponic nutrients for small apartment systems. And if you are still choosing a system to pair with your new light setup, see my picks for the 3 best countertop hydroponic systems for apartment beginners.
⚠️ Avoiding Common Hydroponic Lighting Mistakes
Even with a solid plan, it is easy to stumble into common mistakes. I have documented every one of my early blunders so you do not have to repeat them.
☀️ Too Much or Too Little Light
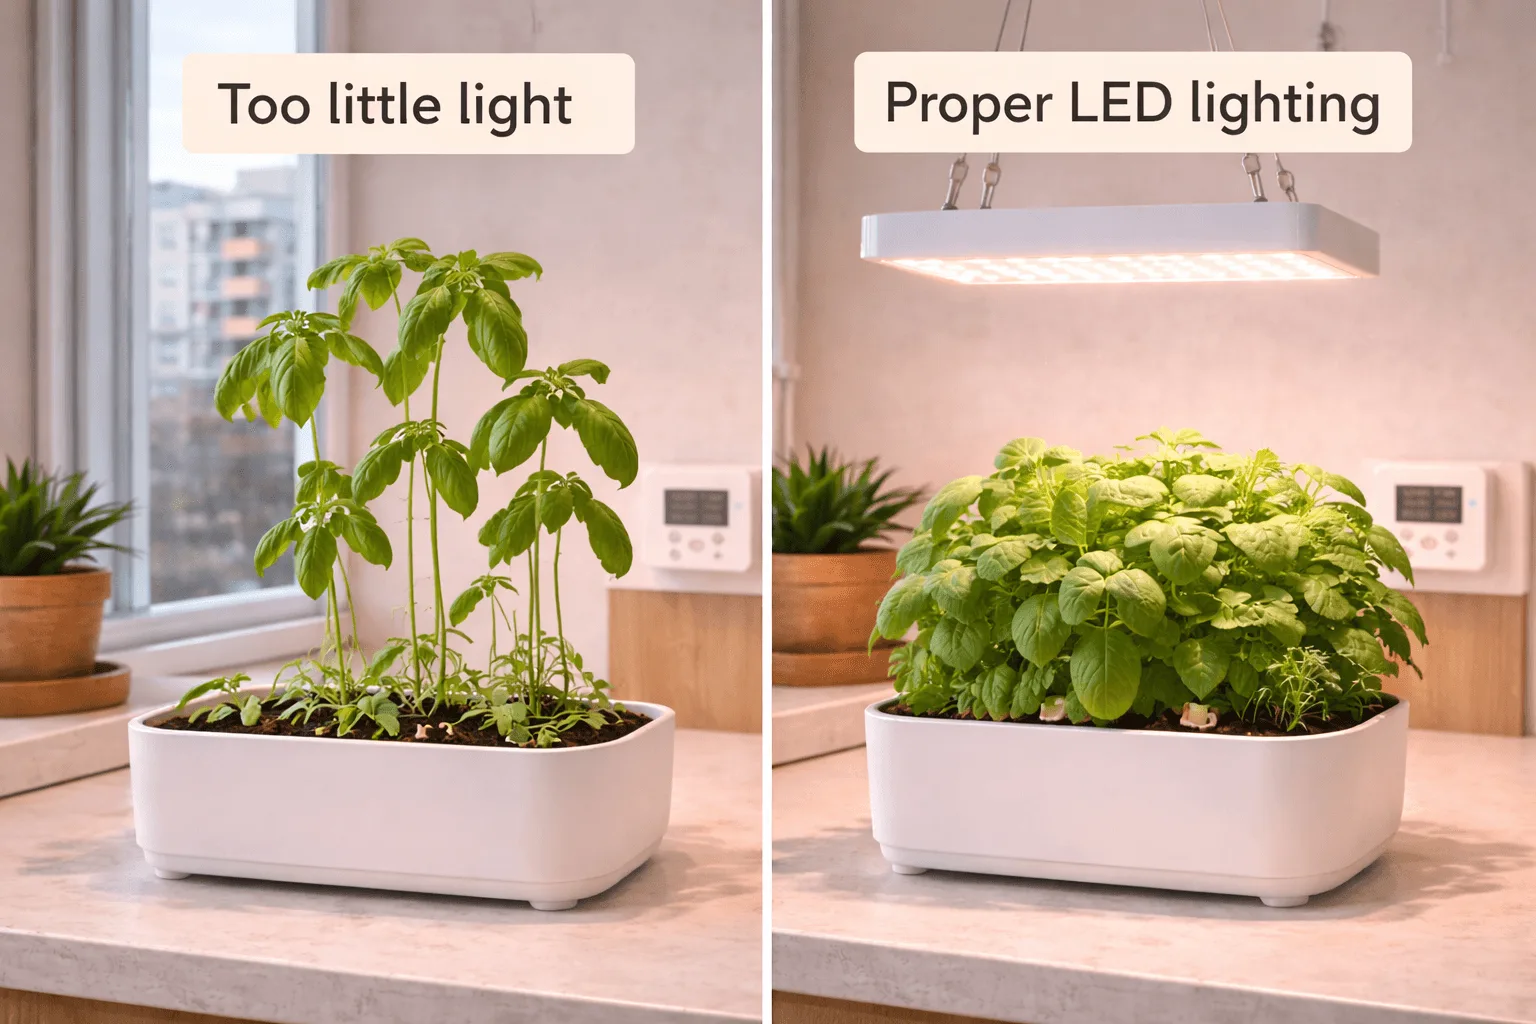
My first basil plant under an actual grow light started showing crispy edges after a week. I thought it was nutrient burn, but after checking my EC, which was around 1.4 mS/cm and perfect for basil, I realized the light was too close. Moving it up just a few inches made all the difference. Keep your grow lights about 12 to 18 inches from the plant tops as a starting point. If your plants are still stretching, lower the light slightly. If they look stressed, bleached, or are curling, raise it.
📆 Inconsistent Hydroponic Light Timer Settings
The biggest mistake, especially for 9-to-5 workers, is an inconsistent light schedule. Manually turning lights on and off every day is just asking for trouble. One day you forget, the next you are late, and suddenly your plants are getting erratic light. This stress can significantly hinder growth and yield. That is why an automatic timer or smart plug is essential for maintaining consistent hydroponic light timer settings. Once you program your on/off times, leave them alone.
🌙 Neglecting the Dark Period
Some beginners think more light equals faster growth. This is a myth. Plants absolutely need darkness. The dark period is when they perform vital metabolic processes that prepare them for the next light cycle. Without it, they cannot properly regulate their growth hormones or transport vital nutrients. An accurate 8 to 10 hour dark period is essential for overall plant health. If you reduce darkness to squeeze in more light hours, you usually do not get faster growth. You get stressed plants instead.
💬 A Word From Sarah
Creating the perfect apartment hydroponic light schedule for your 9-to-5 life does not have to be complicated. With a simple timer and the right grow lights, you can set it and forget it, coming home to thriving plants every day. I have made every mistake, from wrong pH to insufficient light, and I can tell you that dialing in your light schedule is one of the most rewarding steps toward a lush indoor garden. You have got this, and soon you will be harvesting fresh greens right in your apartment.
❓ Frequently Asked Questions
🪟 Can I use natural window light for apartment hydroponics if I work 9 to 5?
While natural window light helps, it is rarely enough for thriving hydroponic plants in an apartment. The intensity and duration vary wildly depending on season, weather, and window direction. For consistent growth, especially when you are away all day, you need supplemental grow lights on a timer. I started with a windowsill setup and quickly found it led to leggy, unhappy basil even with a south-facing window. Adding a grow light completely transformed my plants.
🌙 What if I work nights and my schedule is flipped?
The beauty of grow light timers is that you can set the day and night cycle to fit your life. If you work nights and sleep during the day, set your lights to be on while you are at work and off while you sleep. The plants do not care if it is day or night outside. They only care about the consistent light and dark cycle you provide. The 16-hour light and 8-hour dark rule still applies. Just align that 24-hour block with your real life.
🌱 Do seedlings need a different light schedule than mature plants?
Seedlings generally need slightly less intense light than mature plants but a similar duration. You can start them with the same 14 to 16 hour light schedule, but keep the grow light a bit further away at around 18 to 24 inches to avoid shocking them. As they develop more leaves, gradually lower the light to the recommended 12 to 18 inch distance to increase intensity. A starting EC of 0.5 to 0.8 mS/cm for seedlings also reduces the risk of root stress early on.
⏱️ What is the best type of timer to use for an apartment hydroponic light schedule?
For convenience and reliability, a digital timer or smart plug is generally the best choice. Digital timers offer precise programming down to the minute, and smart plugs let you control and adjust your hydroponic light timer settings from your phone, which is helpful if you are away from home. Mechanical timers are a solid budget option at around $10. In my own apartment I use smart plugs on every system so I can quickly tweak schedules or turn lights off from my phone.
🔍 How do I know if my current light schedule is working?
The best indicators are your plants themselves. Healthy plants under a good light schedule will look compact, with strong stems, rich color, and steady new growth. Lettuce should form tight crisp leaves. Basil should be deep green and bushy, not tall and floppy. If your plants are stretching toward the light, fading in color, or developing crispy edges, your schedule or light intensity needs adjusting. Change only one variable at a time and watch your plants for 5 to 7 days before making further tweaks.
🍅 How many hours of light do fruiting plants like cherry tomatoes need?
Fruiting plants like cherry tomatoes, strawberries, and peppers do best with 16 to 18 hours of light per day. They also need a higher light intensity of around 400 to 600 µmol/m²/s at canopy level compared to leafy greens and herbs. Never push beyond 18 hours of light regardless of the plant type. Even fruiting plants need at least 6 to 8 hours of uninterrupted darkness to regulate their growth hormones and trigger fruit development properly.
📏 How far should I keep my grow light from my hydroponic plants?
For most herbs and leafy greens, keep your LED grow light 12 to 18 inches above the plant canopy as a starting point. Seedlings need more distance at 18 to 24 inches to avoid light stress on young tissue. If plants are stretching upward with thin stems, lower the light by an inch or two. If the top leaves look bleached or crispy, raise it. Adjust one inch at a time and wait 48 hours before making another change so you can accurately see the plant’s response.
Happy growing! 🌿
— Sarah, Urban Hydro Space
Sarah is the founder of Urban Hydro Space and an indoor gardening enthusiast dedicated to helping apartment dwellers grow fresh herbs and vegetables in small spaces. With hands-on experience testing hydroponic systems, she shares practical tips and honest product reviews to make indoor gardening accessible for beginners.